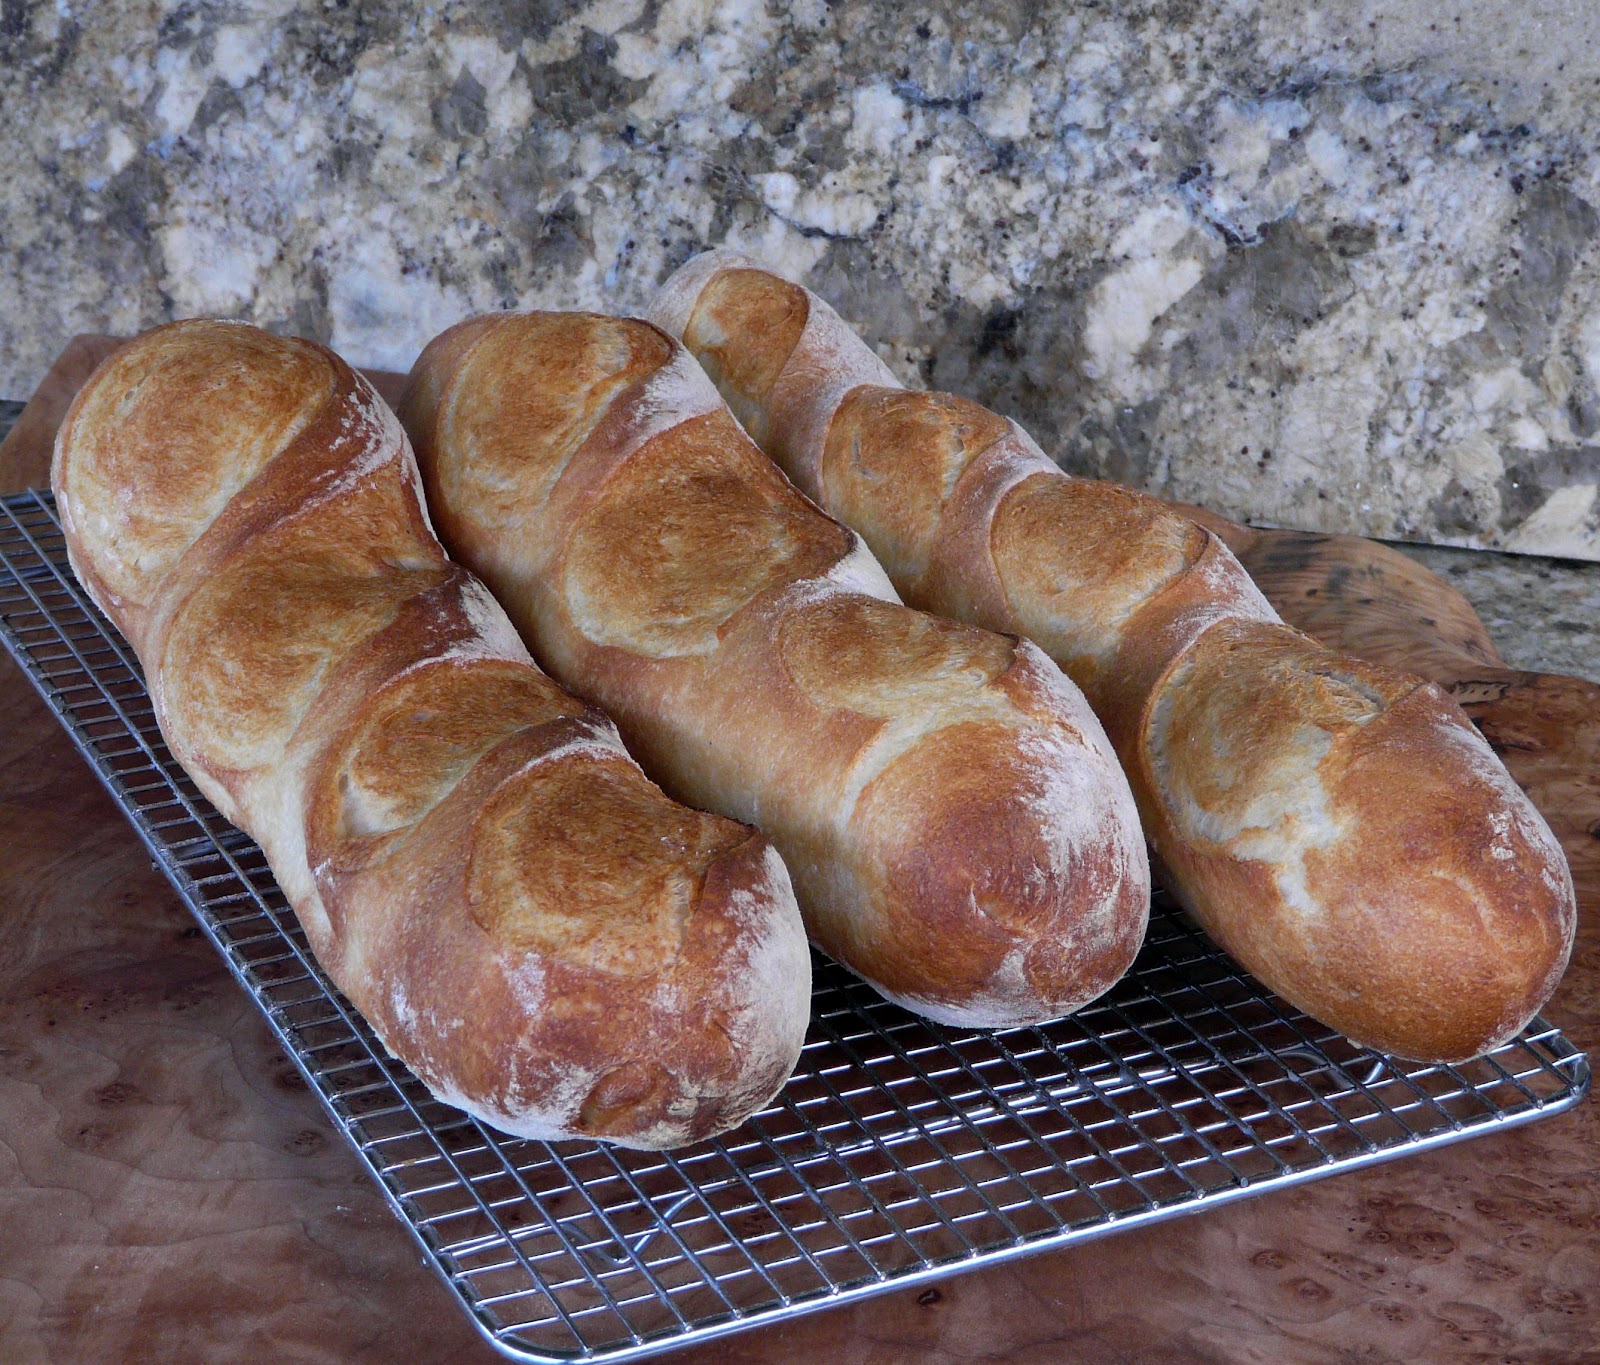
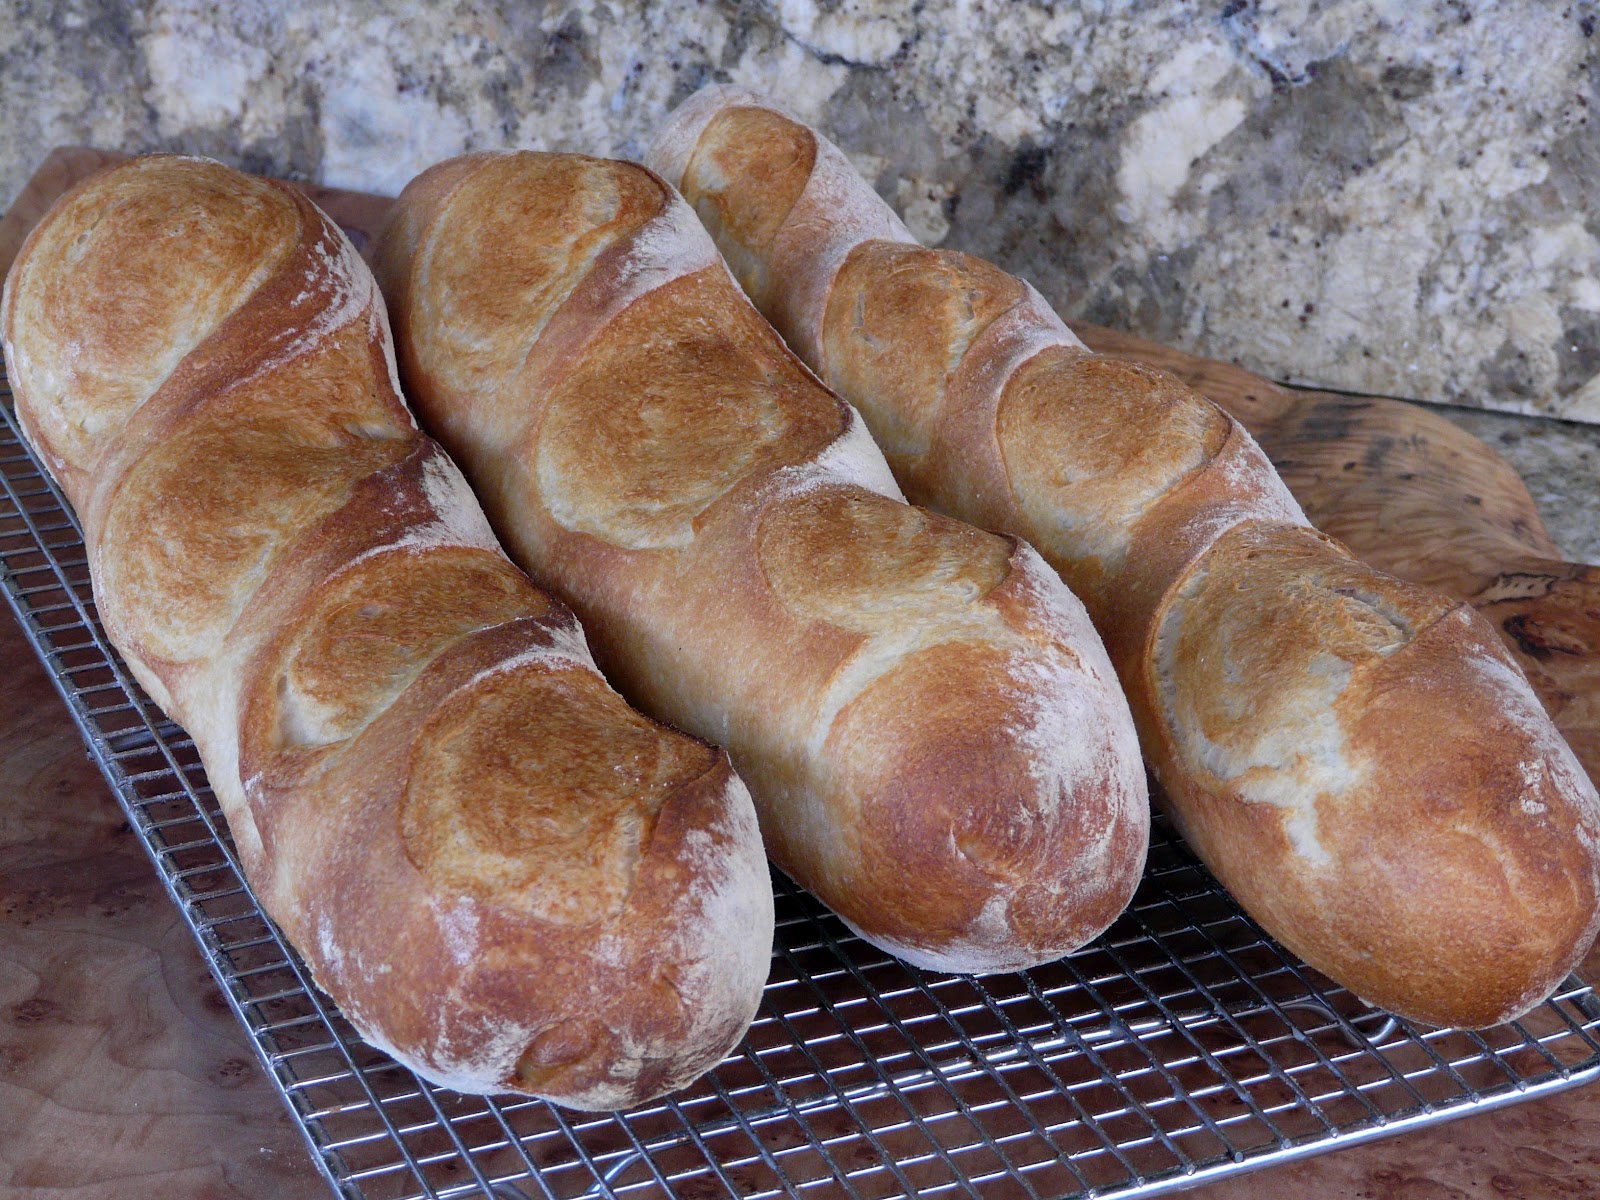
I used 1/3 rd of the dough and formed three loaves.
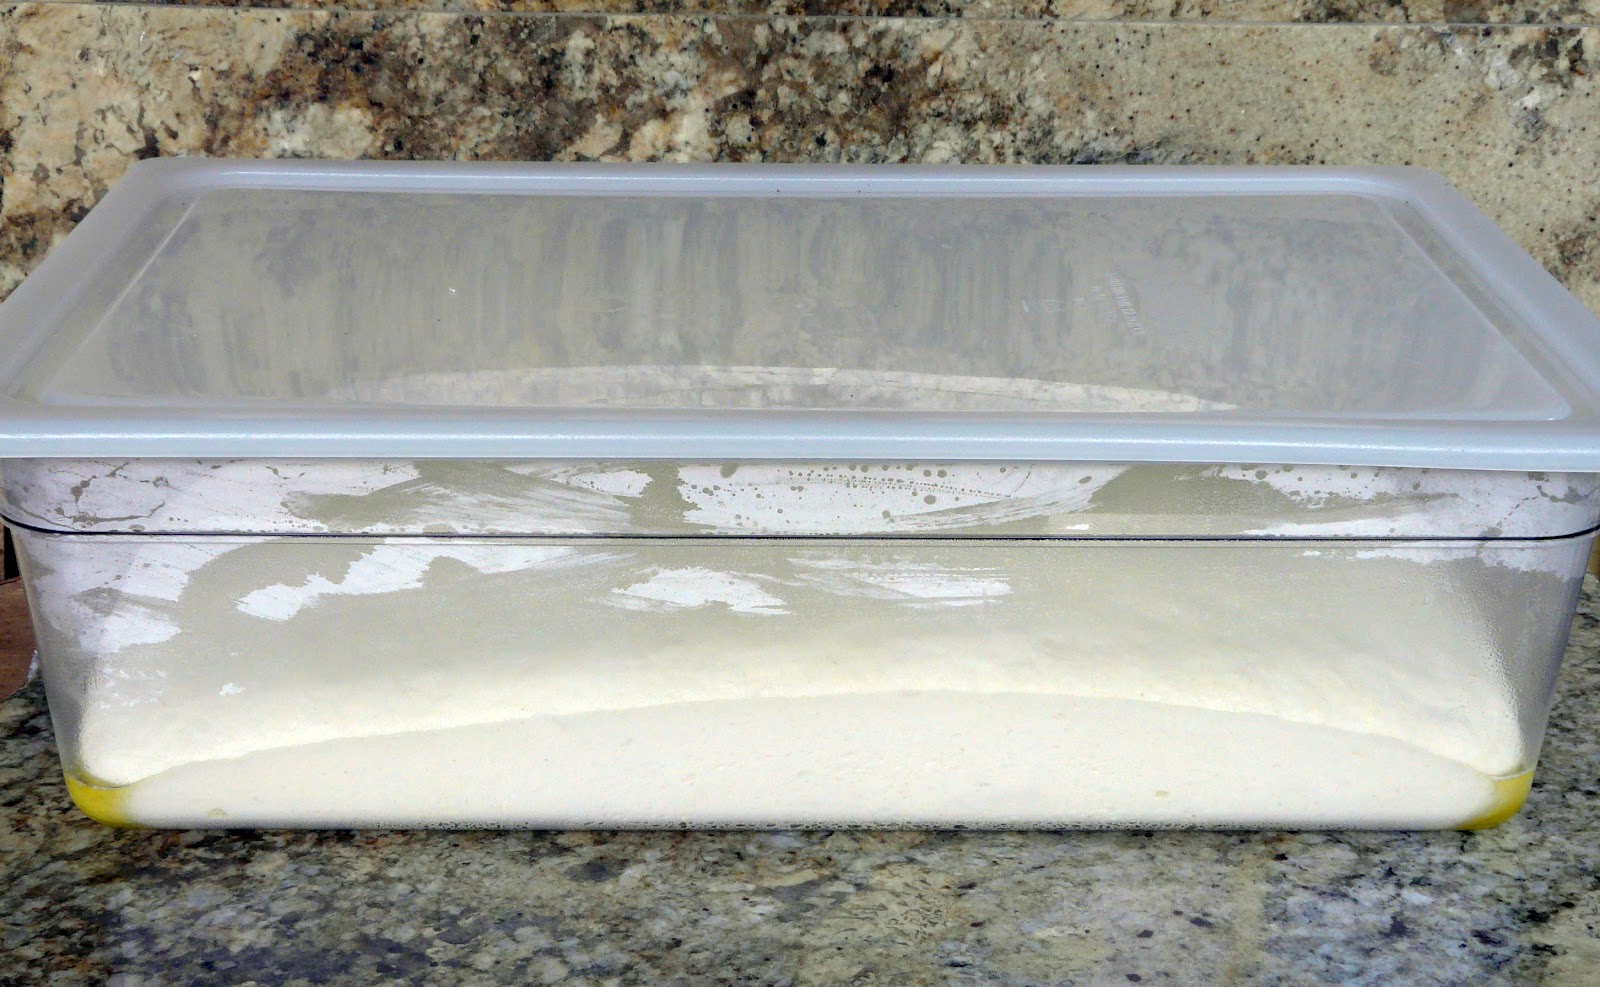
The remaining 2/3rds went back into the container and into the fridge and will be used up over the next two or three days.

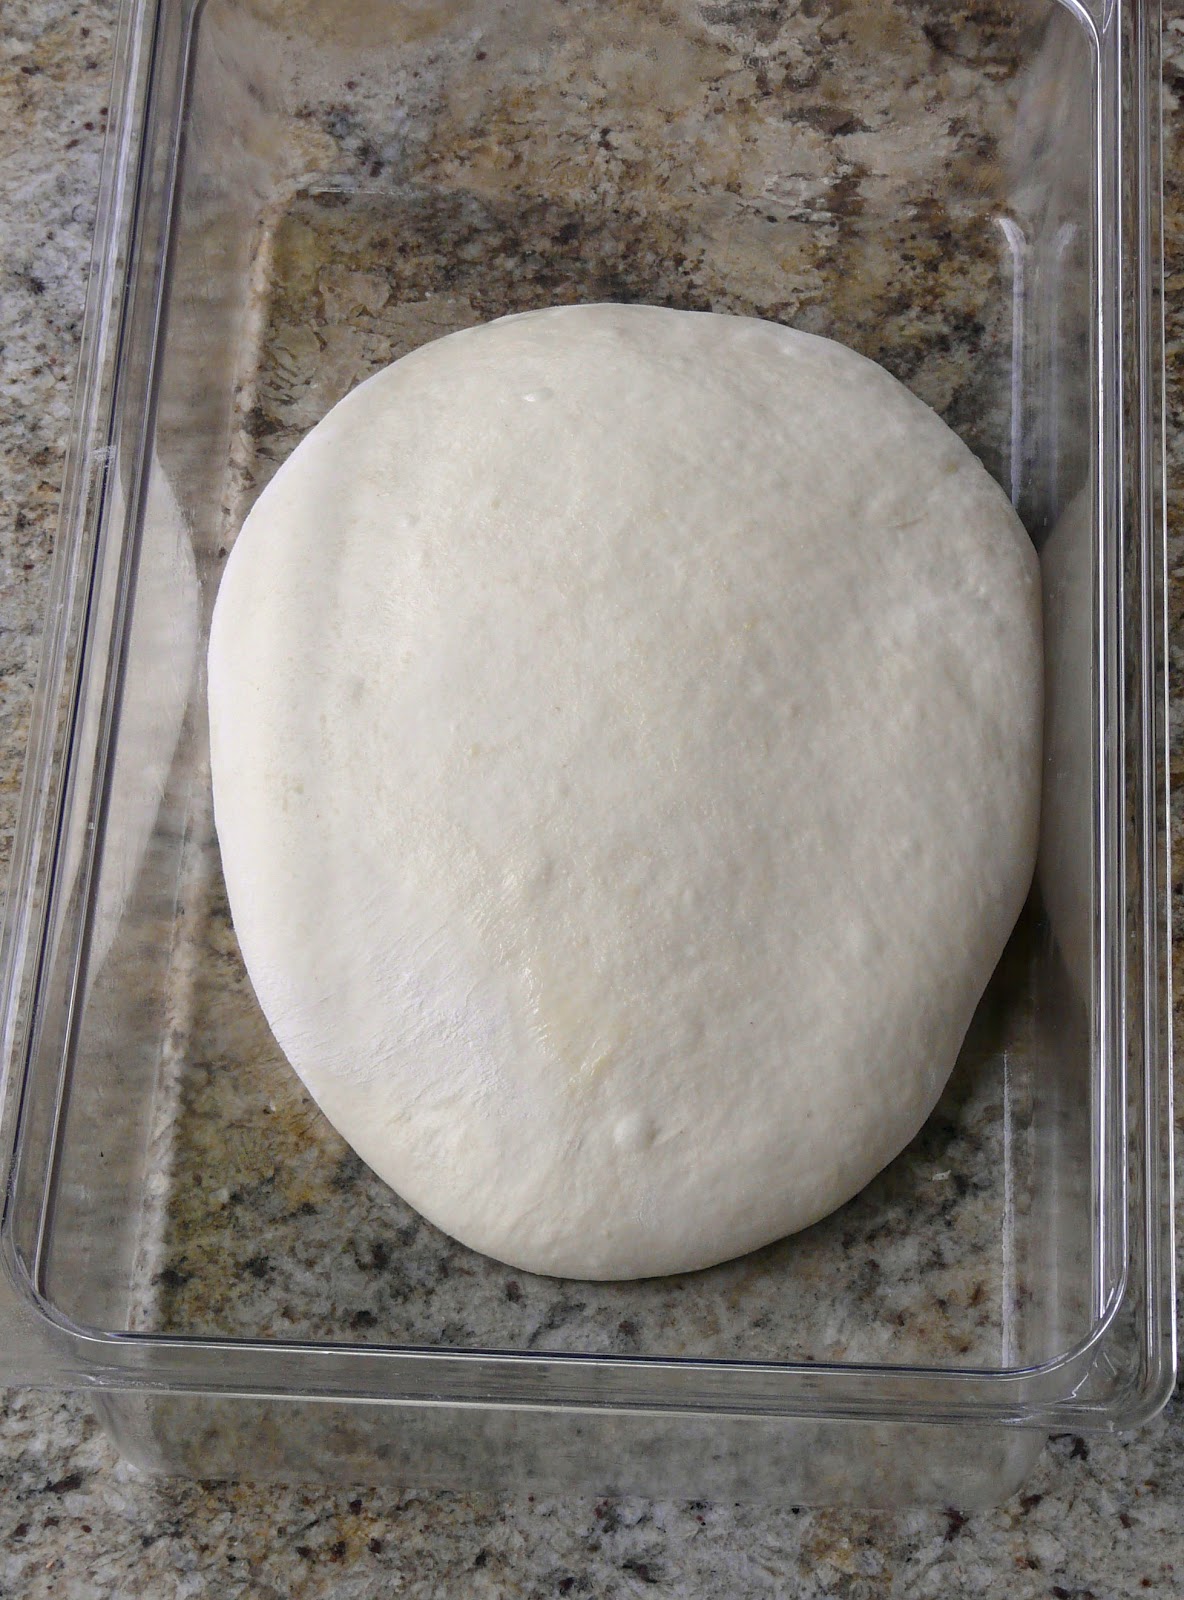
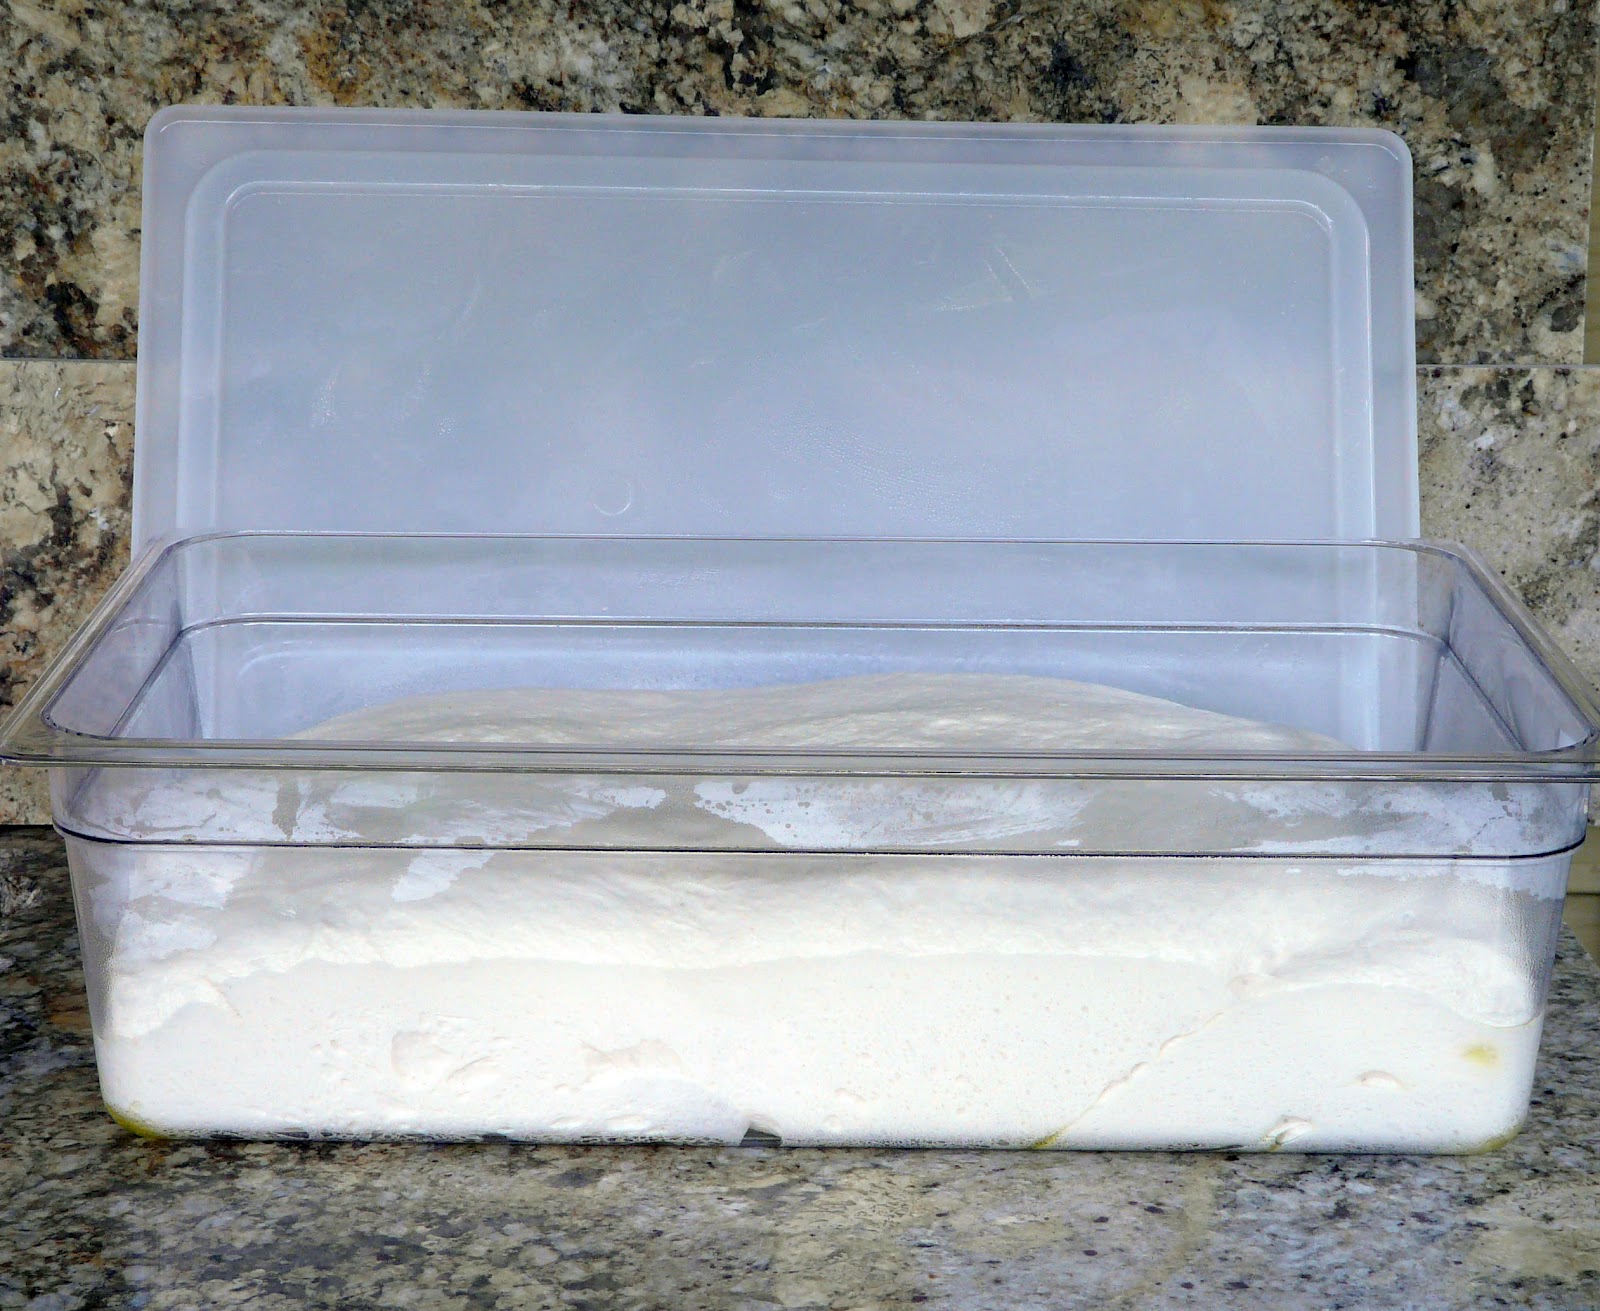
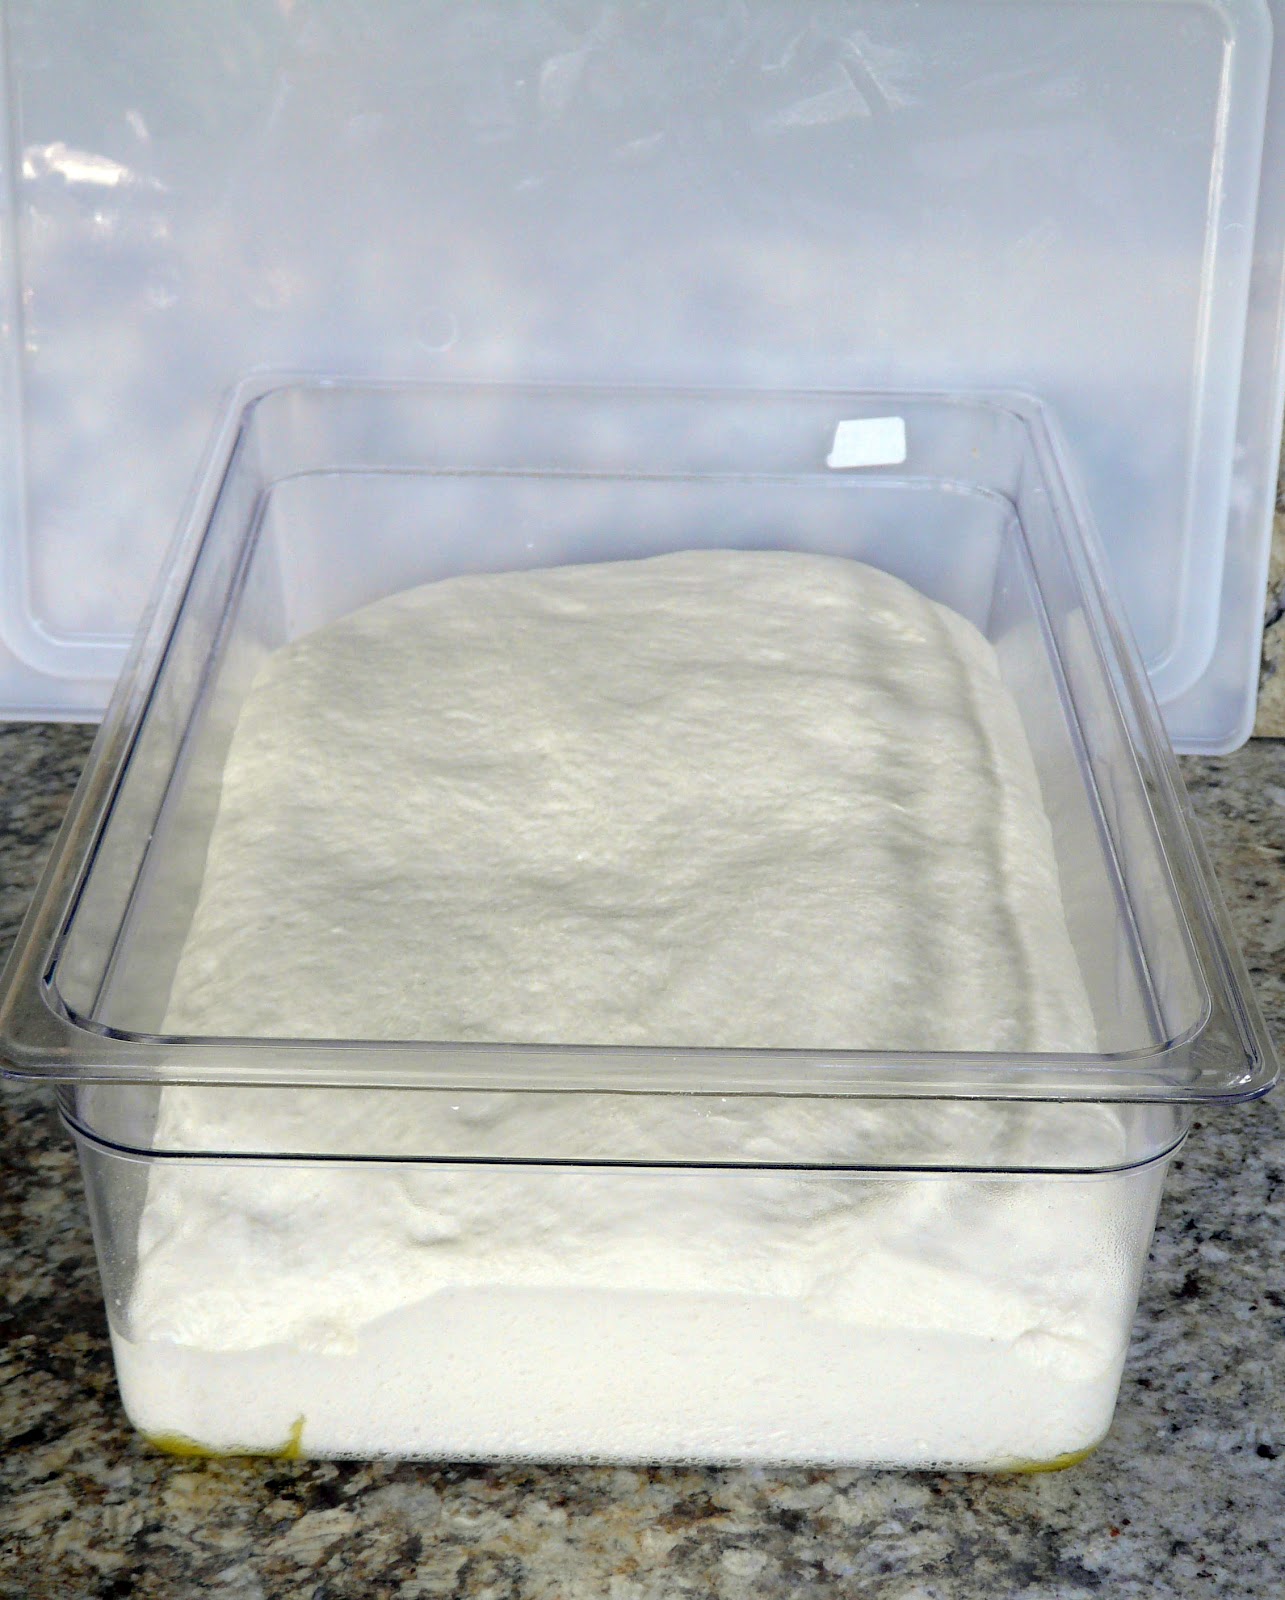
Almost doubled.
on a stone that has been preheated.
French Baguette
Julia Child
1 package dry active yeast (2 1/2 teaspoons)
3 1/2 cups unbleached flour (bread flour)
2 1/4 tsp salt
1 1/3 cups cold water plus 1/3 or so additional water
Using Food Processor
Place the flour, yeast and salt in the bowl of the food process. Pulse to mix. Add 1 1/3 cups of water and process until the dough comes together. If the dough doesn’t form a ball, add a little of the extra water. Process for about 60 seconds, turn off machine and let dough rest for 5 minutes.
Turn on the machine again and rotate the dough about 30 times under the cover, and then remove it to a lightly floured work surface. it should be fairly smooth and quite firm.
Let the dough rest for 2 minutes and then knead roughly and vigorously. The final dough should not stick to your hands as you knead (although it will stick if you pinch and hold a piece); it should be smooth and elastic and, when you hold it up between your hands and stretch it down, it should hold together smoothly.
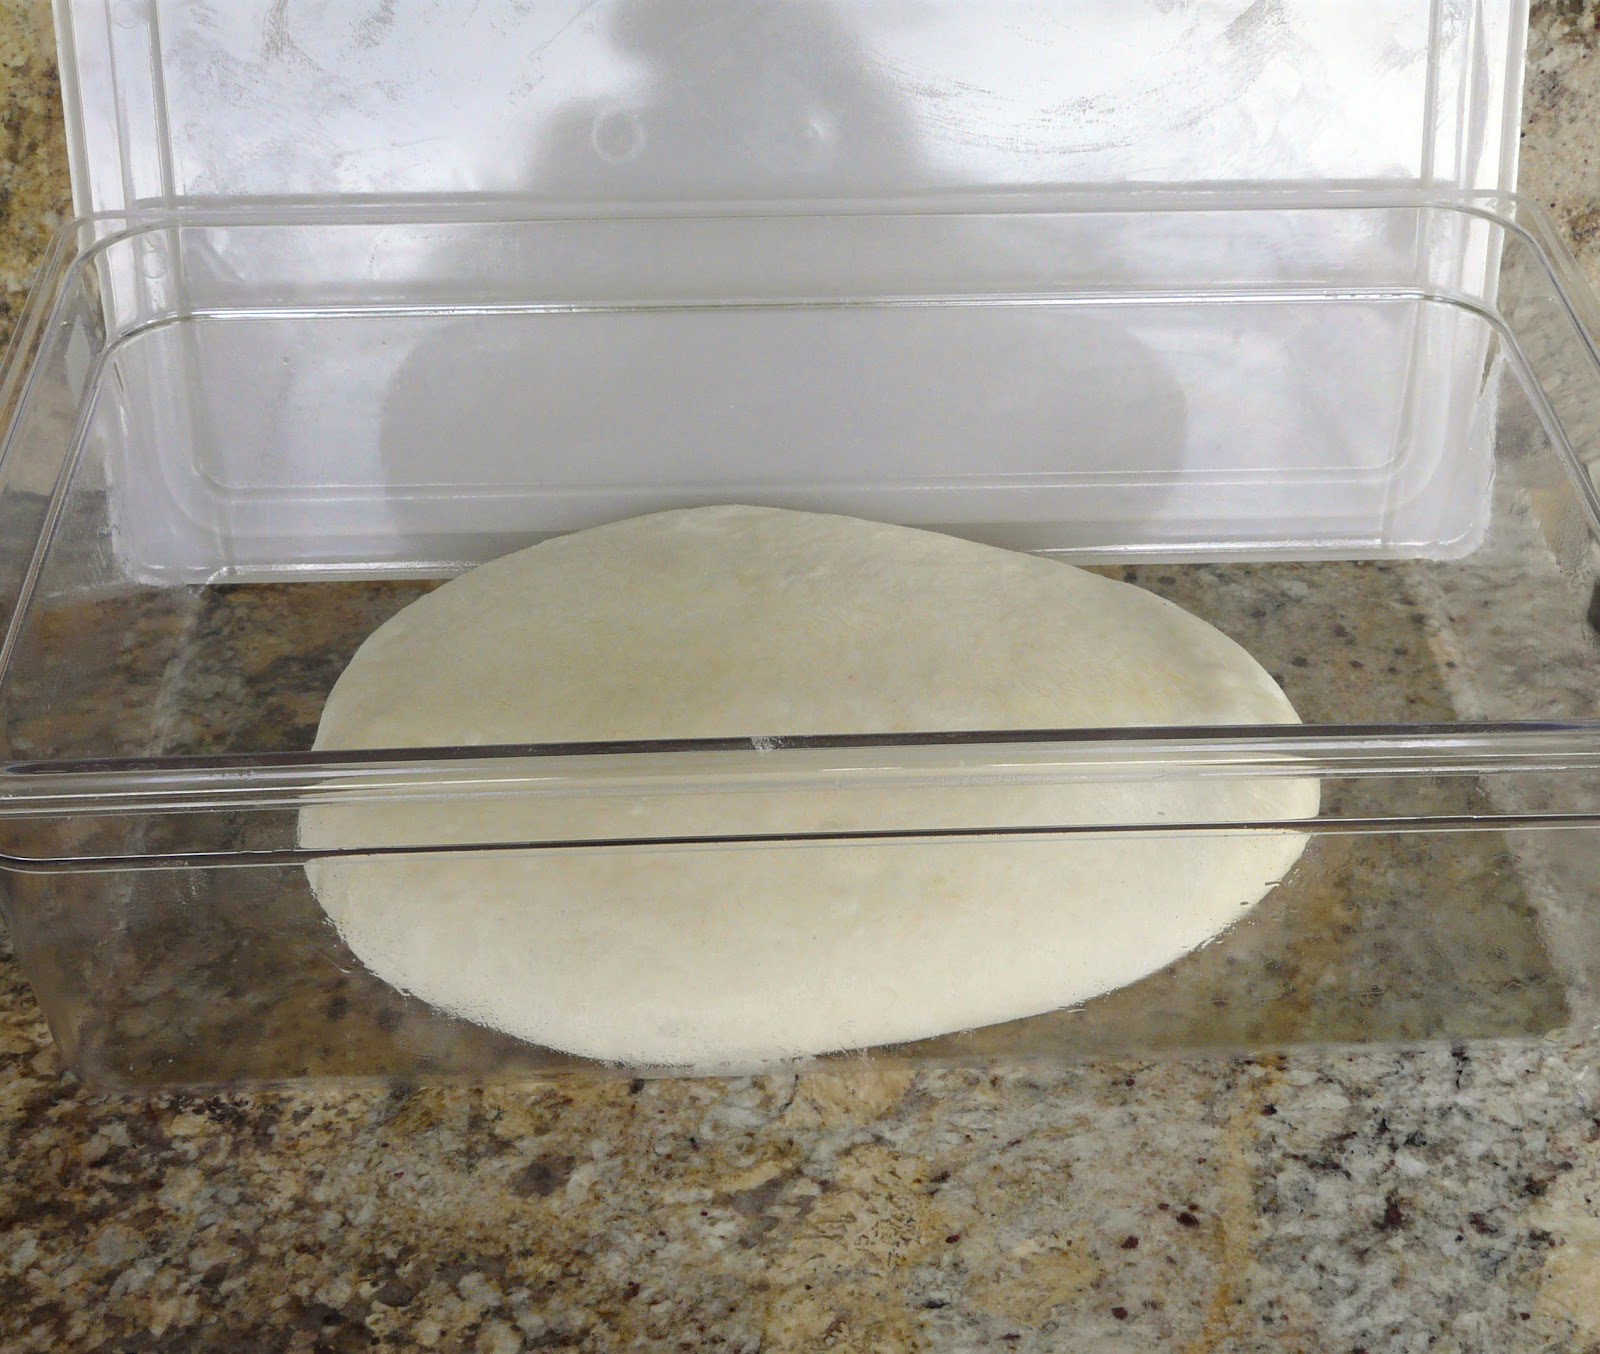
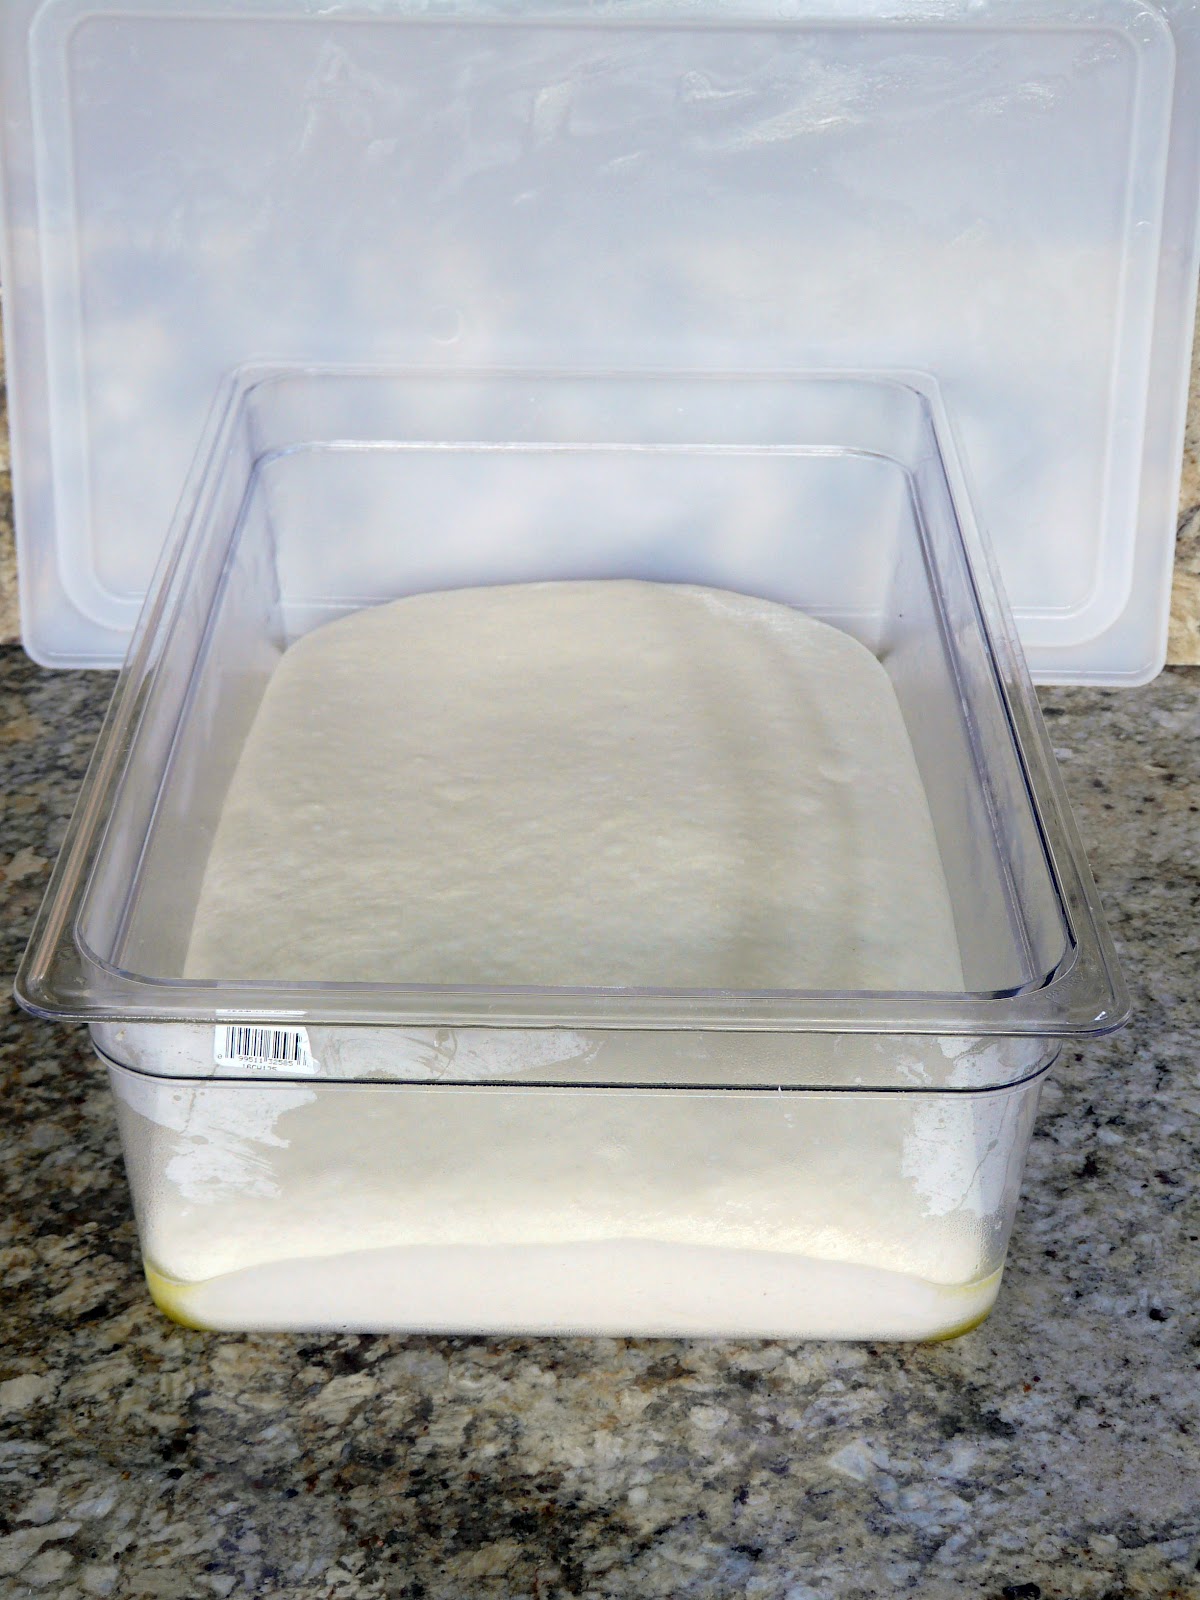
Preliminary rise – 40 to 60 minutes at around 75°F. Place the dough into a clean dry bowl, (do not grease the bowl), cover with plastic wrap, and set in a warm place free from drafts. (note the French do not grease the bowl because they believe the dough needs a seat to push up from). This first rise is sufficient when the dough has definitely started to rise and is about 1 1/2 times its original volume.
Deflating:
Turn the dough onto your lightly floured work surface roughly and firmly pat and push it out into a 14 inch rectangle. Fold one of the long sides over toward the middle, and the other long side over to cover it, making a 3 layer cushion. Repeat the operation. This important step redistributes the yeast throughout the dough, for a strong second rise. Return the dough smooth side up the bowl; cover with plastic wrap and again set to rise.
Final rise in the bowl – about 1 to 1 1/2 hours or longer. The bread should be 2 1/2 to 3 times its original bulk. It is the amount of rise that is important here, not the timing.
To Shape,
Cut the dough in half. Set one piece aside and cover with a towel.
On a lightly floured work surface pat the dough into a 14 inch rectangle, squaring it u p as evenly as you can.
Fold the rectangle of dough in half lengthwise and using the heel of your hand, firmly press the edges together whether they meet. Seat well. Pound the dough flat. Now repeat – patting the dough out again and folding it over and sealing the edges. Pinch the edges well and Rotate the dough so that the sealed edge in on the bottom.
Repeat with second piece of dough.
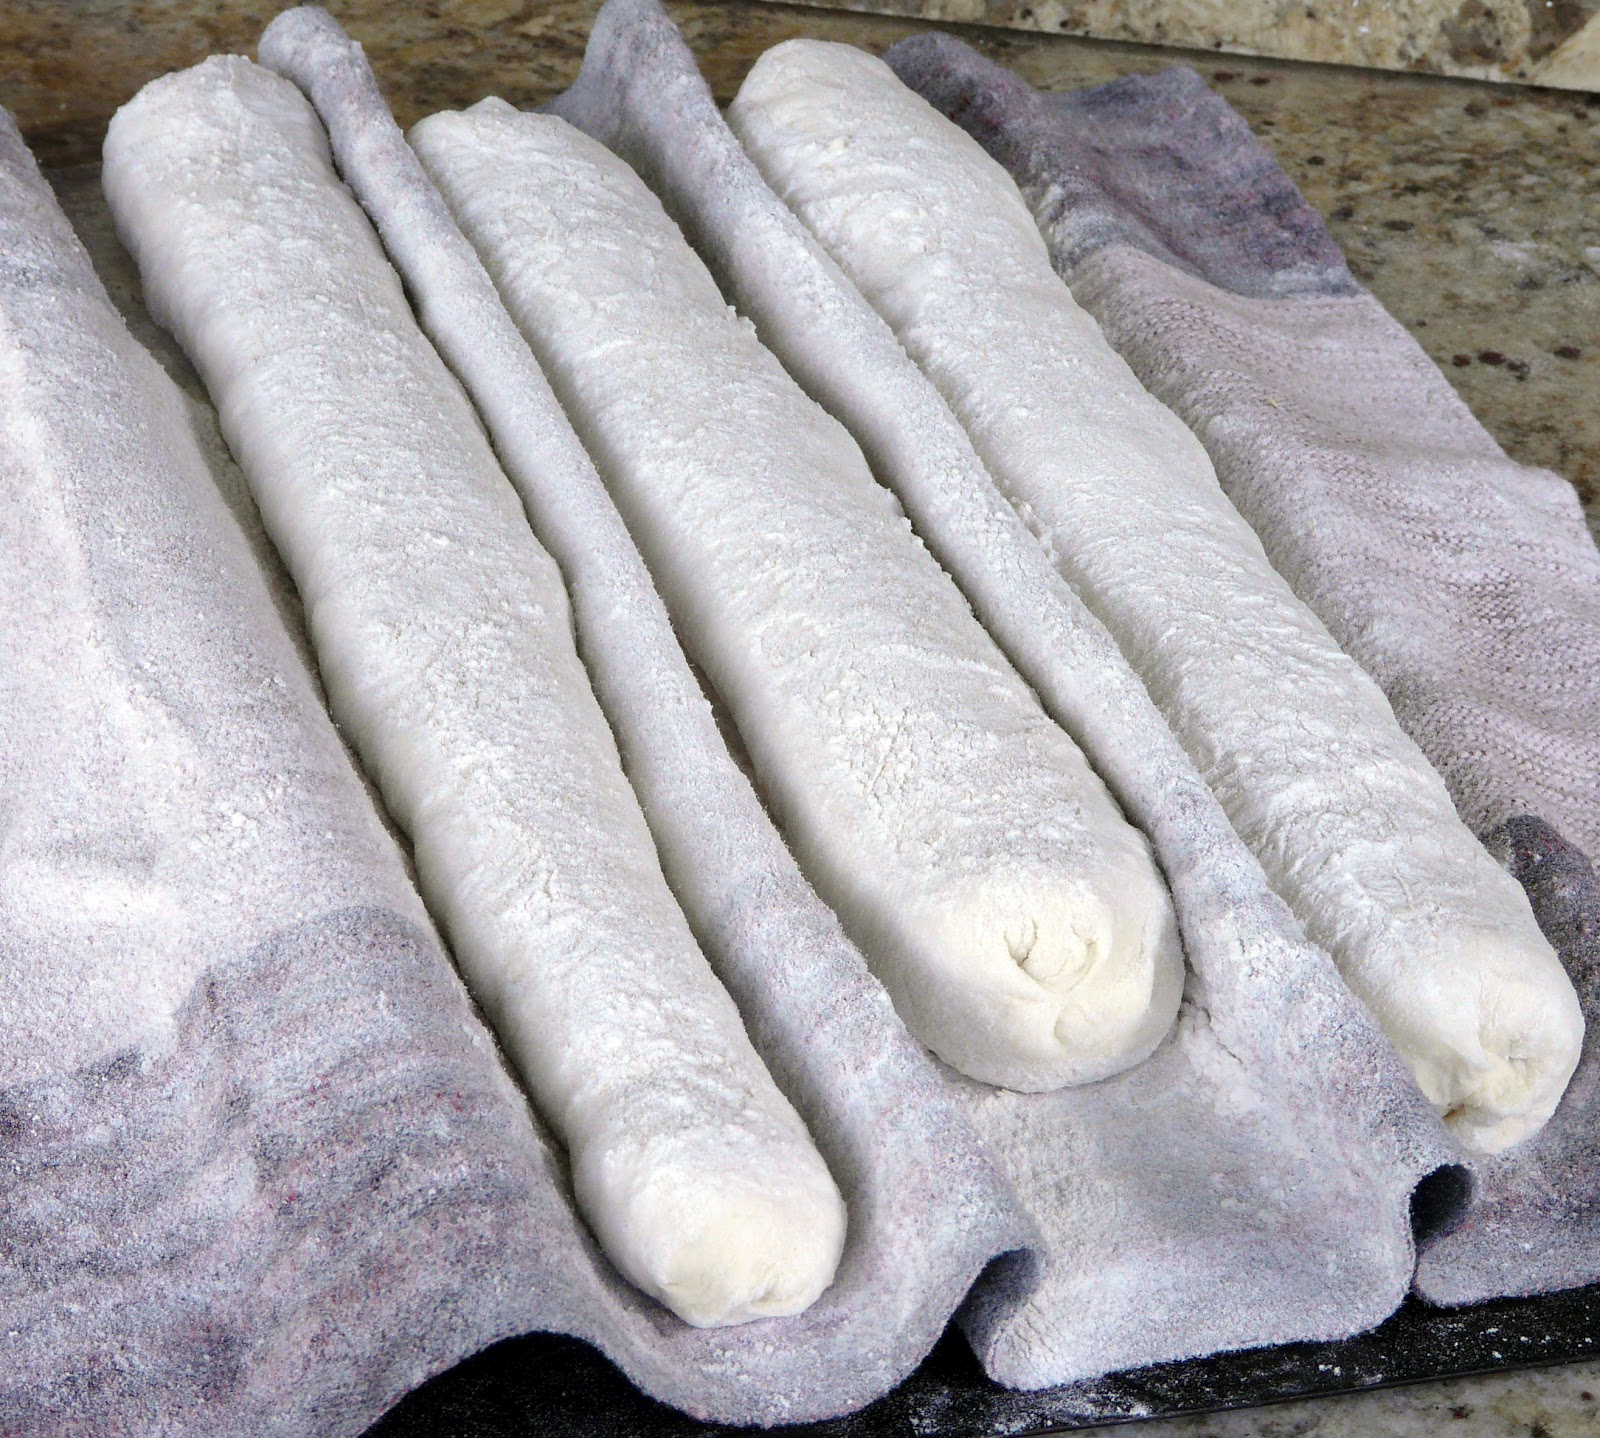
Cover with plastic wrap or loosely with a towel and let rise to more than double again at about 75°f.
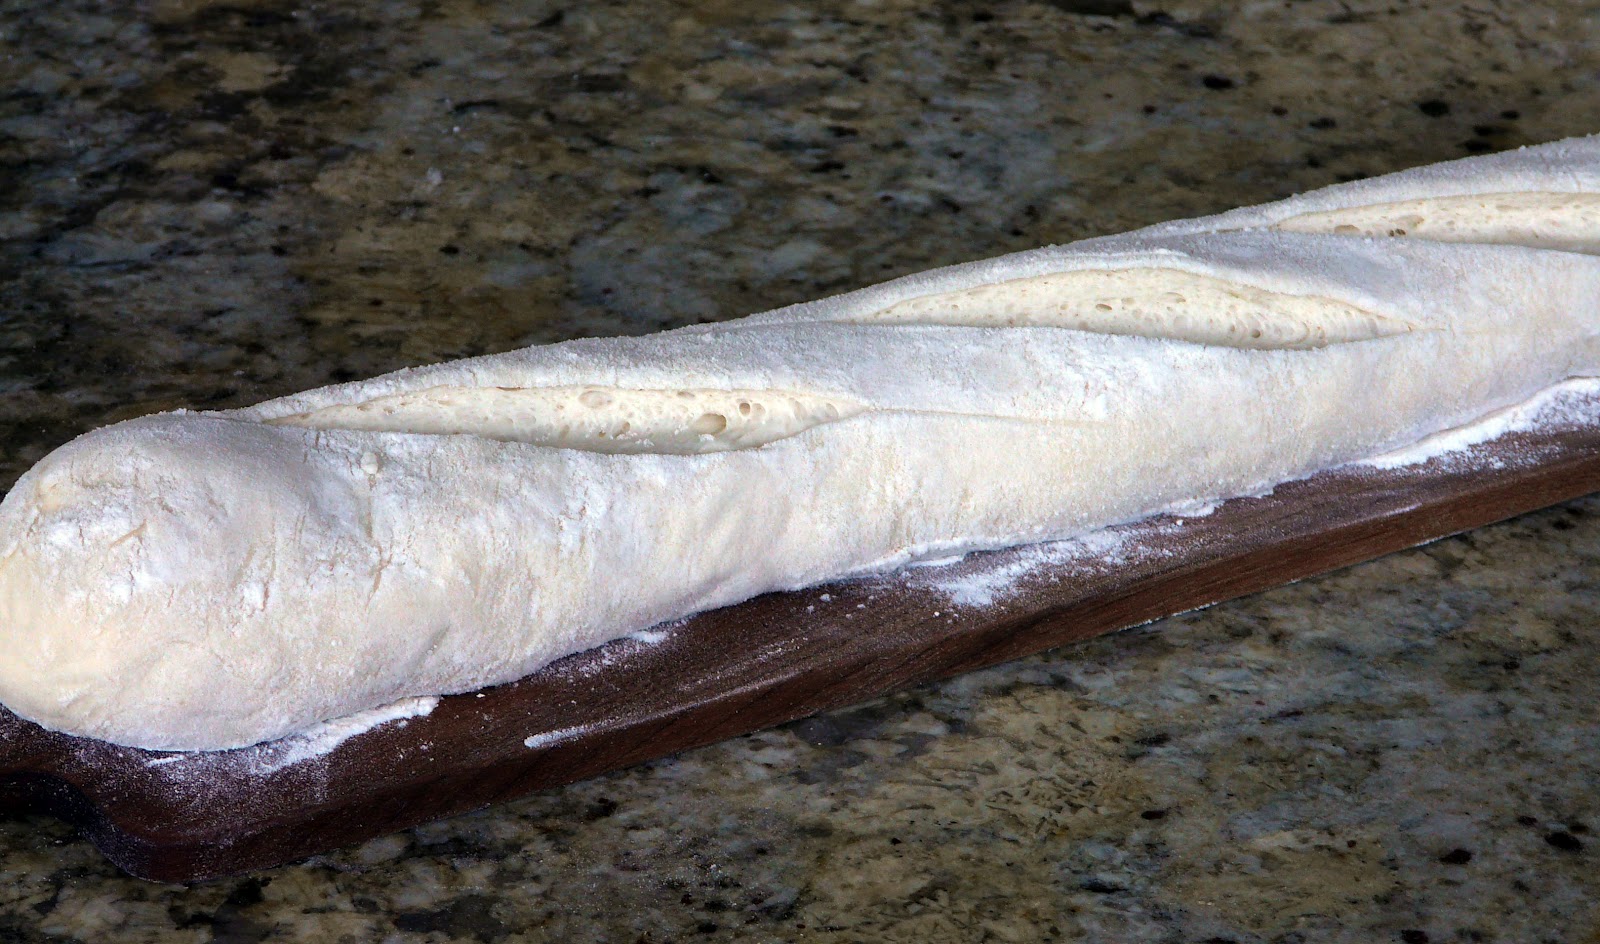
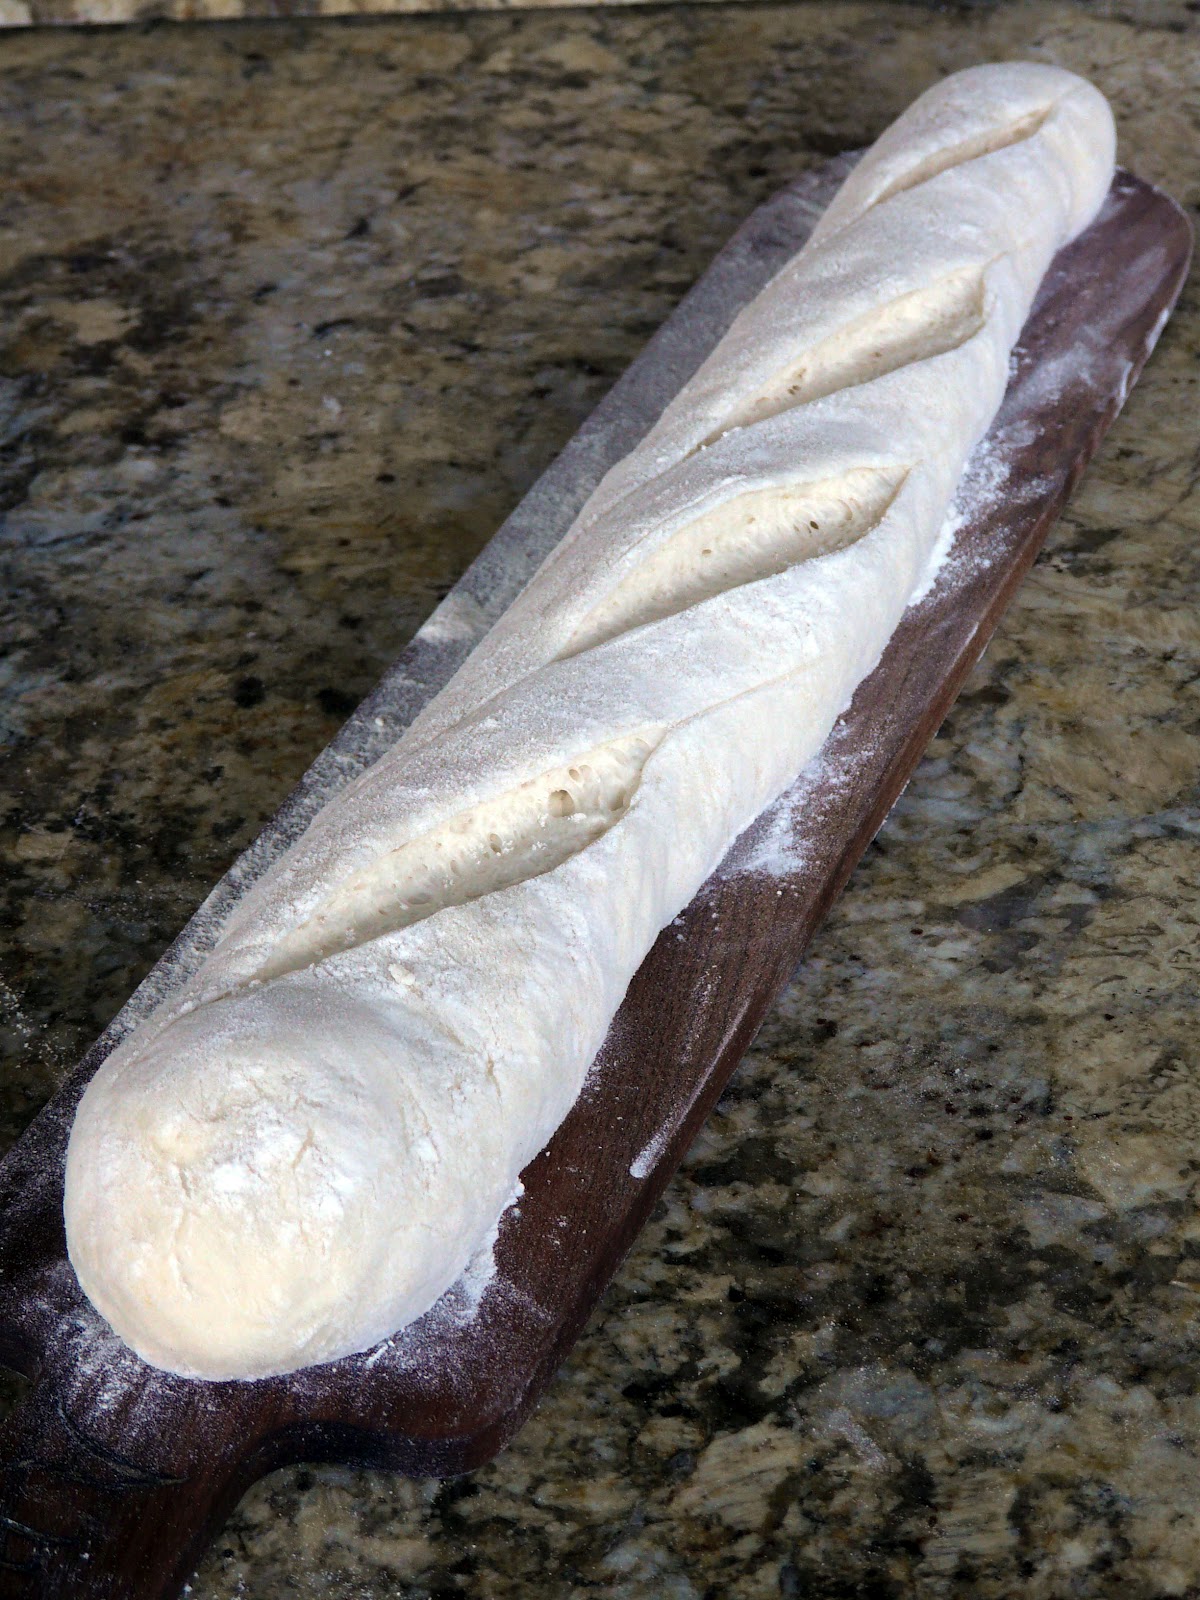
Place stone in oven and Preheat oven to 450°F. Slash three long cuts into the loaves and place on the hot stone. Spray loaves with water and immediately toss a number of ice cubes on to the bottom on the oven to create steam. Spray again two or three times, 3 minutes a part. Bake until bread is golden and has an interior temp of 200°F. Takes about 30 minutes.
Making Dough in a Mixer or by Hand
When you are making dough in an electric mixer with a dough hook, proceed in the same general way with the rests indicated, and finish by hand. or mix the dough by hand in a bowl, turn out on a work surface, and start the kneading by lifting it up with a scraper and slapping it down roughly for several minutes until it has body. Let it rest several minutes and then proceed to knead.
MY NOTES:
I use a Magic Mill to do most of the kneading. The Magic Mill can handle over 20 cups of flour at one time.
I use 4 cups for a single batch and 8 cups for a double batch Plus the addition of a Biga. I prefer a wet dough so I add more water.
I usually start this bread with a Biga (Italian)/Poolish (French) a pre-fermentation. Made the night before. Contributes to a more complex flavour and a better texture.
1 1/2 cups flour
1/2 teaspoon yeast
1 cup of water.
Mix well. Cover and set aside.
Other changes: I mix the Biga, Flour, Yeast and water together,without the salt, and let sit for 20 to 30 minutes to allow the flour to absorb some of the water. I add the salt after this rest, and then finish by kneading.
This dough makes for a wonderful pizza crust. Place dough in fridge and leave it for two to four, even five days. Take it out early (three hours) to give it time to come to room temperature. Allowing the dough to have a long cold fermentation really develops the flavour and the texture of the bread.
EDITED NOVEMBER 2012: I now reduce the amount of yeast called for in the original recipe. When doubling the amount of flour to eight cups of flour and 1 1/2 cups of biga, I use just three teaspoons of yeast.

Ann….I wish I could come and bake with you. Your bread is magnificent!L~xo
Gee whiz they are gorgeous.. so they actually rise a bit in one of those 3 grooved bread pans? Ann what is the cloth you use?It must be way warmer in your home..it's still chilly here:( I find it takes forever for loaves to rise.They are beautiful ..I always tell you that.
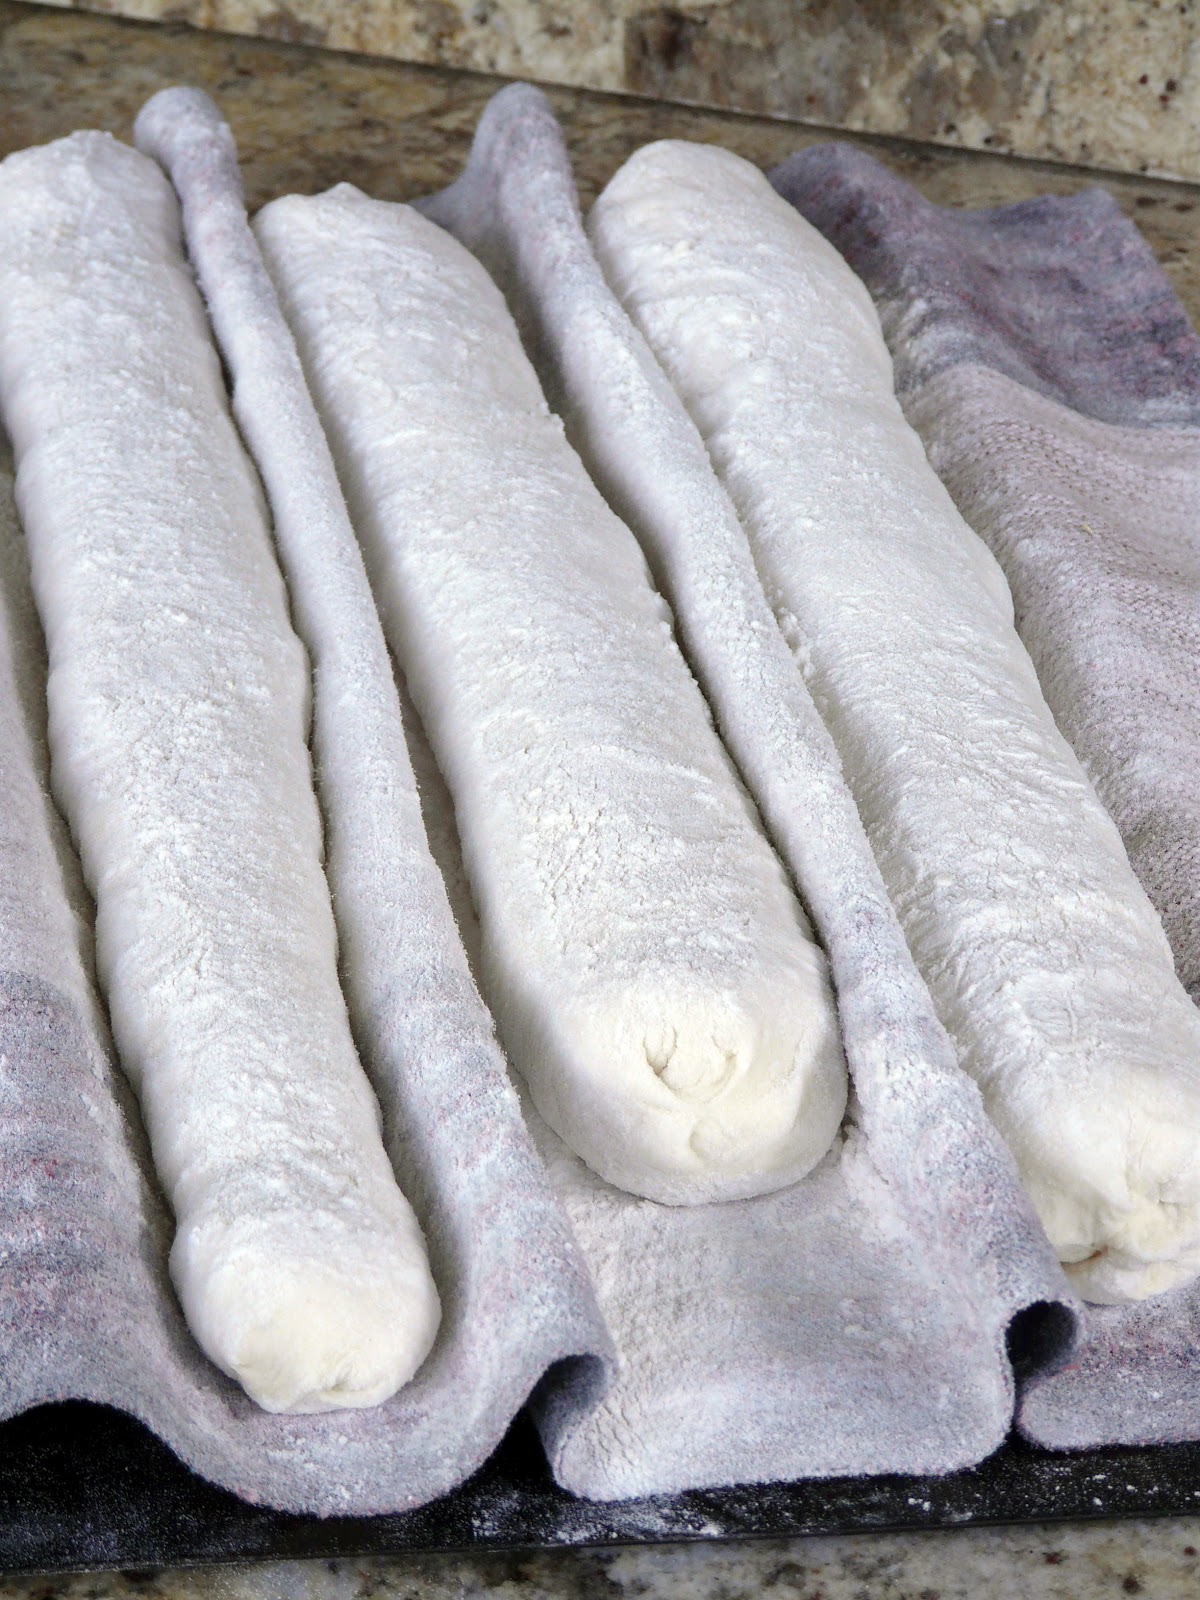
Me too Linda.Monique, I don't use a pan to hold the loaves. I use a handwoven linen tea towel as a \”baker's Couche\”. I have a second handwoven linen towel that I use to cover the loaves as they rise. But you can also buy a Baker's Couche. The towel is heavily floured and the loaves are placed in the folds and left to rise. The cookie sheet that I place the towel on has one lip which supports the first loaf and I place my French rolling pin under the towel to support the last loaf.When the bread is ready to go into the oven, I just roll the loaf onto to the paddle, slash and slide it on to the stone.A cold rise is good Monique. I reduce the amount of yeast just so I will have a slower rise. I think a slower rise helps develop the flavour.~Ann
Truly, \”A picture is worth a thousand words.\” I always appreciate your picture tutorials. Sometimes it's so hard to visualize exactly what you're supposed to do when dealing with only the written word. The bread look so good.
I can't believe how perfect they are. I have always shied away from the floured towel method for fear they will stick and all the work go for nothing… you give me courage to try again!!
Thank you Sue. I agree. I think photos make everything so much easier to understand.Thanks Deana. I have that same concern so I'm generous with the flour. Also, I don't wash the towels. I fold them up and put them in a freeze bag and store them in the freezer. I remember years ago using a proper baker's couche and the instructions were not to wash it. But my experience was that the flour went rancid. So now I store the towels in the freezer and haven't had that problem.~Ann
I am just beginning my Artisan bread baking, and have yet to conquer sour dough (I've been nursing a starter for months). I really like your baking tips, and that container is intriguing. I do have a second fridge, so I could fit one in. Great tutorial!Debby-A Feast for the Eyes
Hii!! I was wondering how much ingredients should I use to make a small amount of dough? For instance, I just want to bake these 3 baguettes. How can I do, to prepare a few? I'm afraid of simply use half recipe, it goes all wrong! Can you help me? Thanks a lot!!!Joana
May I ask you another question? About the Italian bread with gorgonzola…there's no flour in those recipe?Thanks again! Sorry for the silly questions!Joana
Joana, The Italian Gorgonzola garlic bread is made with a baguette or a loaf of Italian bread. There is no need to add flour to the garlic butter mix. Just cut the loaf as indicated and spread the Gorgonzola garlic butter between each slice, wrap in foil and heat in the oven for 15 minutes.
Joana, if you use the basic recipe that calls for 3 1/2 (I use 4) cups of flour you will be able to make 3 to 4 baguettes.