Source: George Greenstein’s – Secrets of a Jewish Baker.

Turn out onto a lightly floured work surface. Knead vigorously, adding more flour in small amounts if the dough is sticky. This should be a stiff dough. Knead until the dough is smooth and elastic and the gluten is fully developed (12 to 15 minutes).
RISING Transfer the dough to an oiled bowl and turn to coat. Cover and allow to rise for 30 minutes. Punch down and allow to rise once more until doubled in volume (20 to 30 minutes). Punch down the dough again, divide into 3 pieces, cover, and let stand for 15 minutes.
SHAPING Roll out into ropes. Cut 6 equal pieces from each rope, then proceed as in Shaping Vienna Rolls on this page.
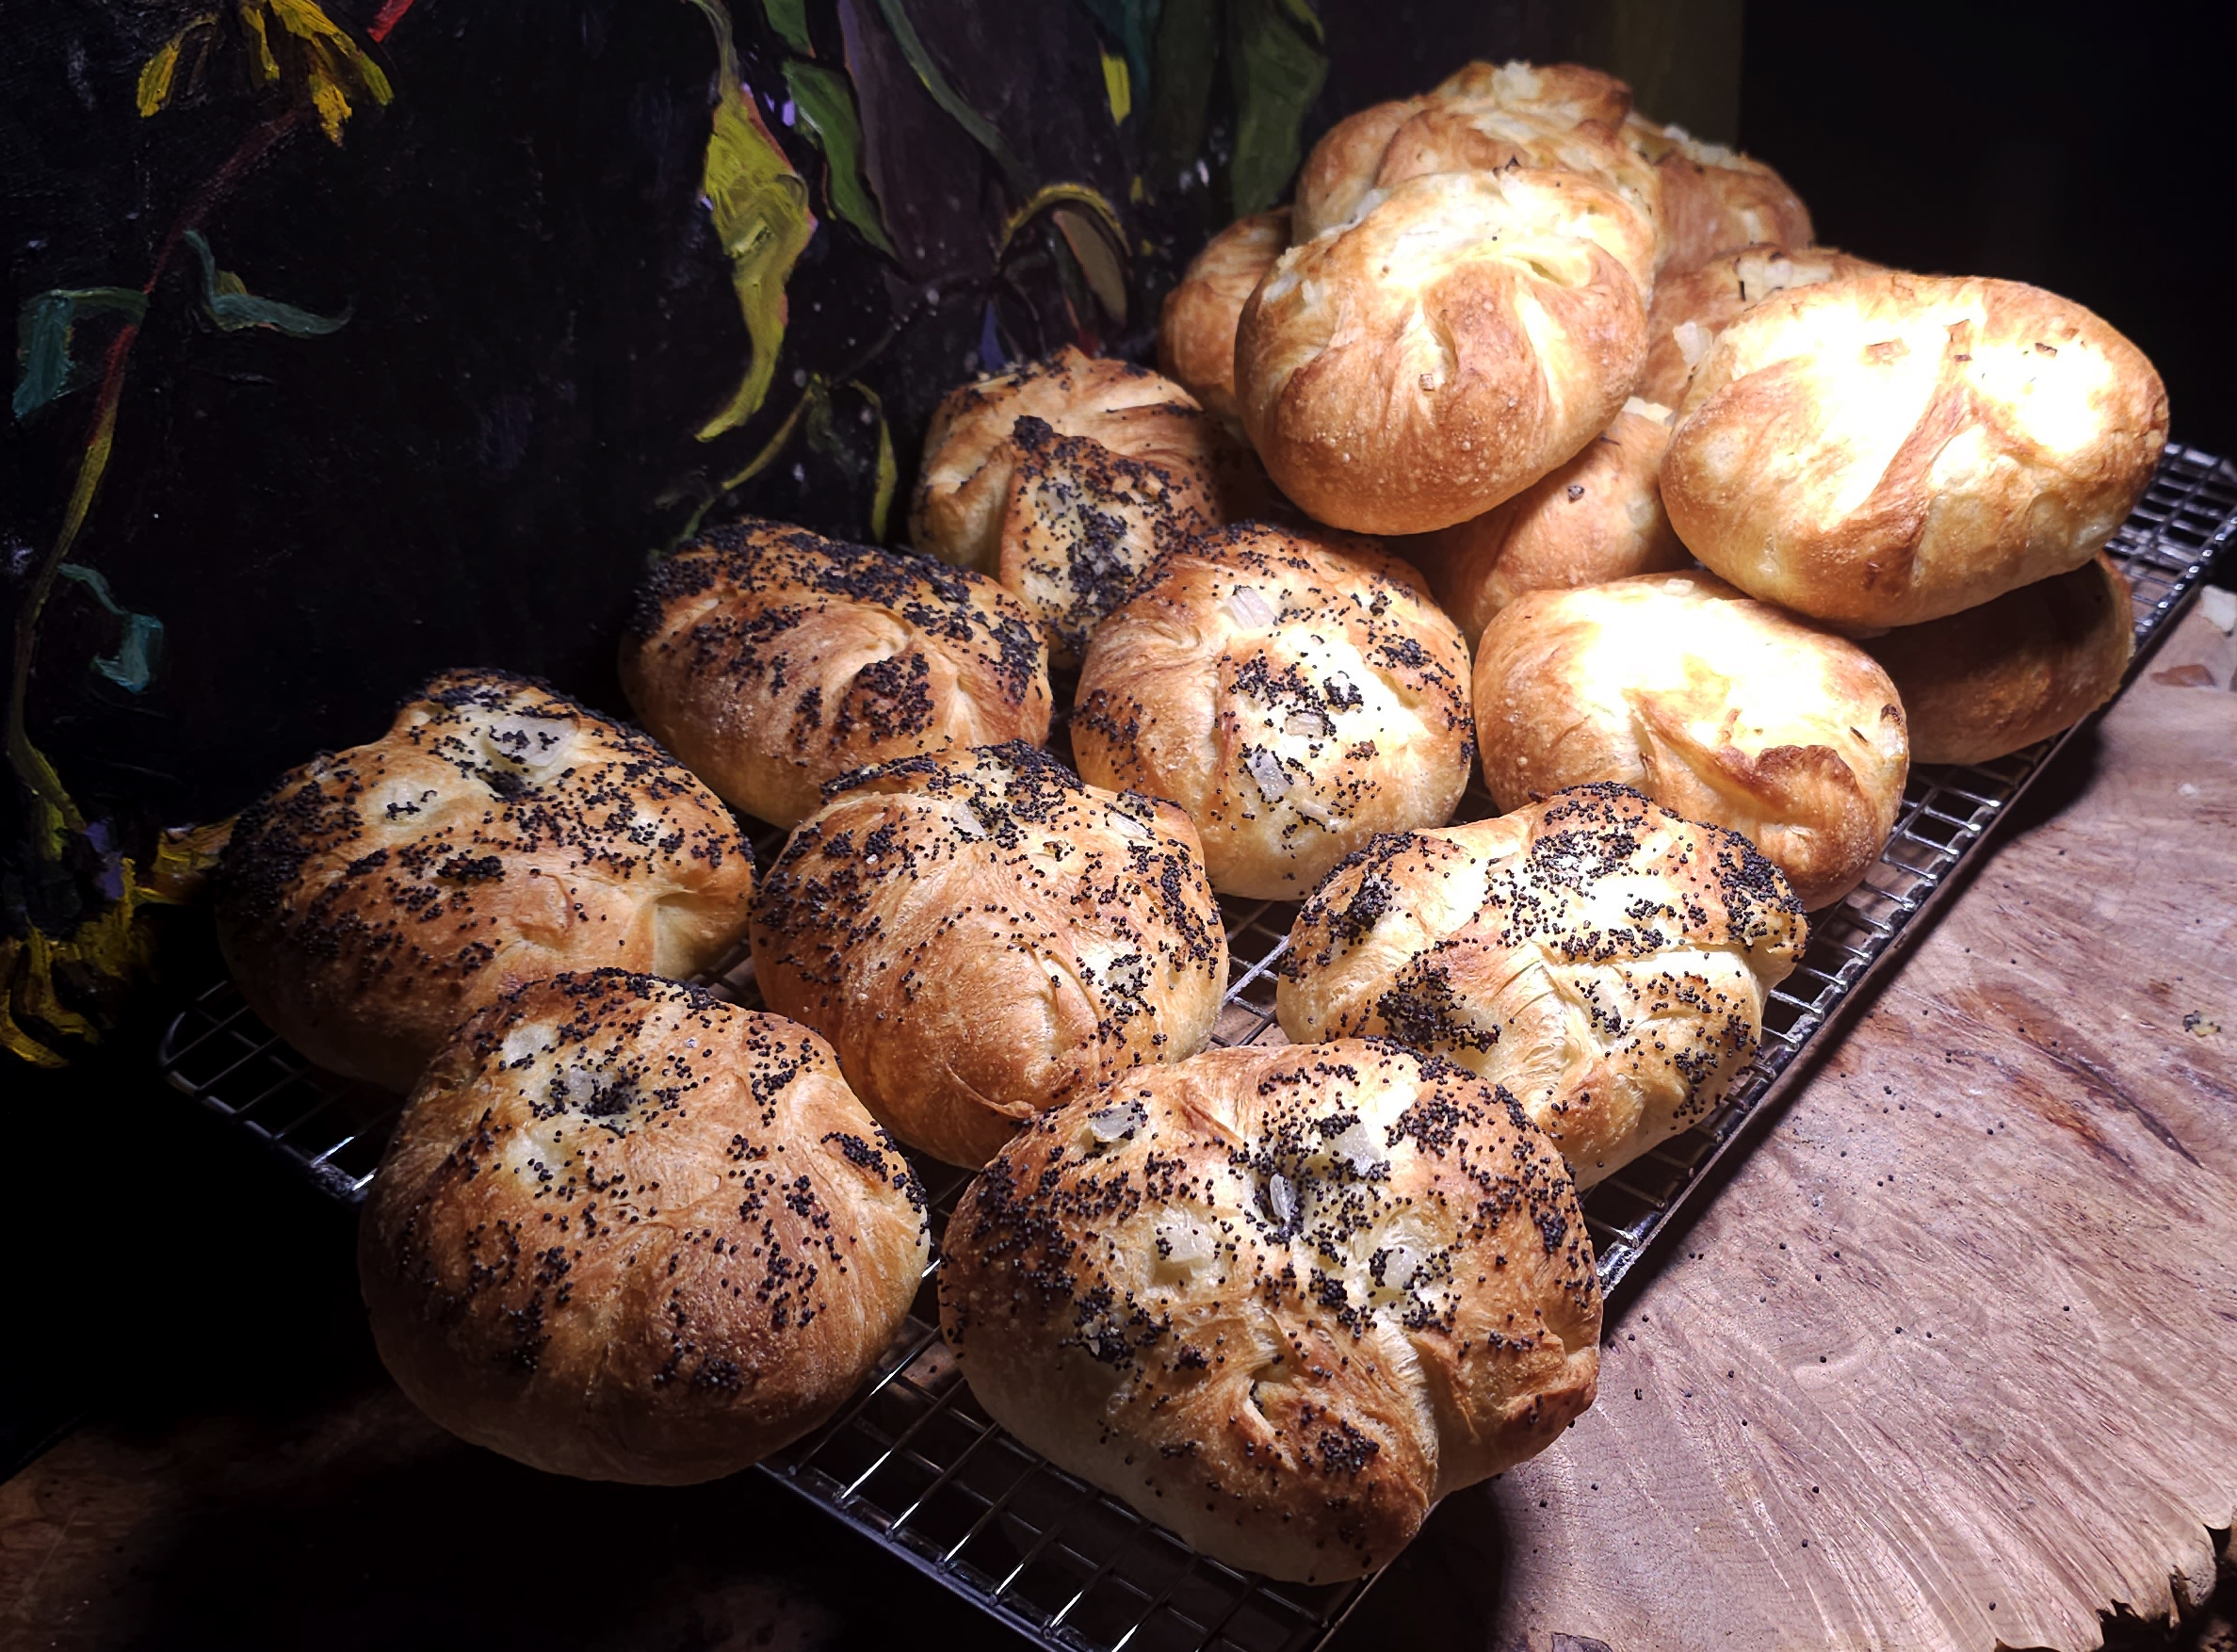
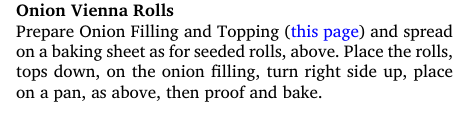
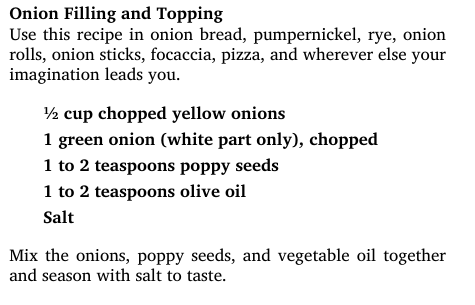
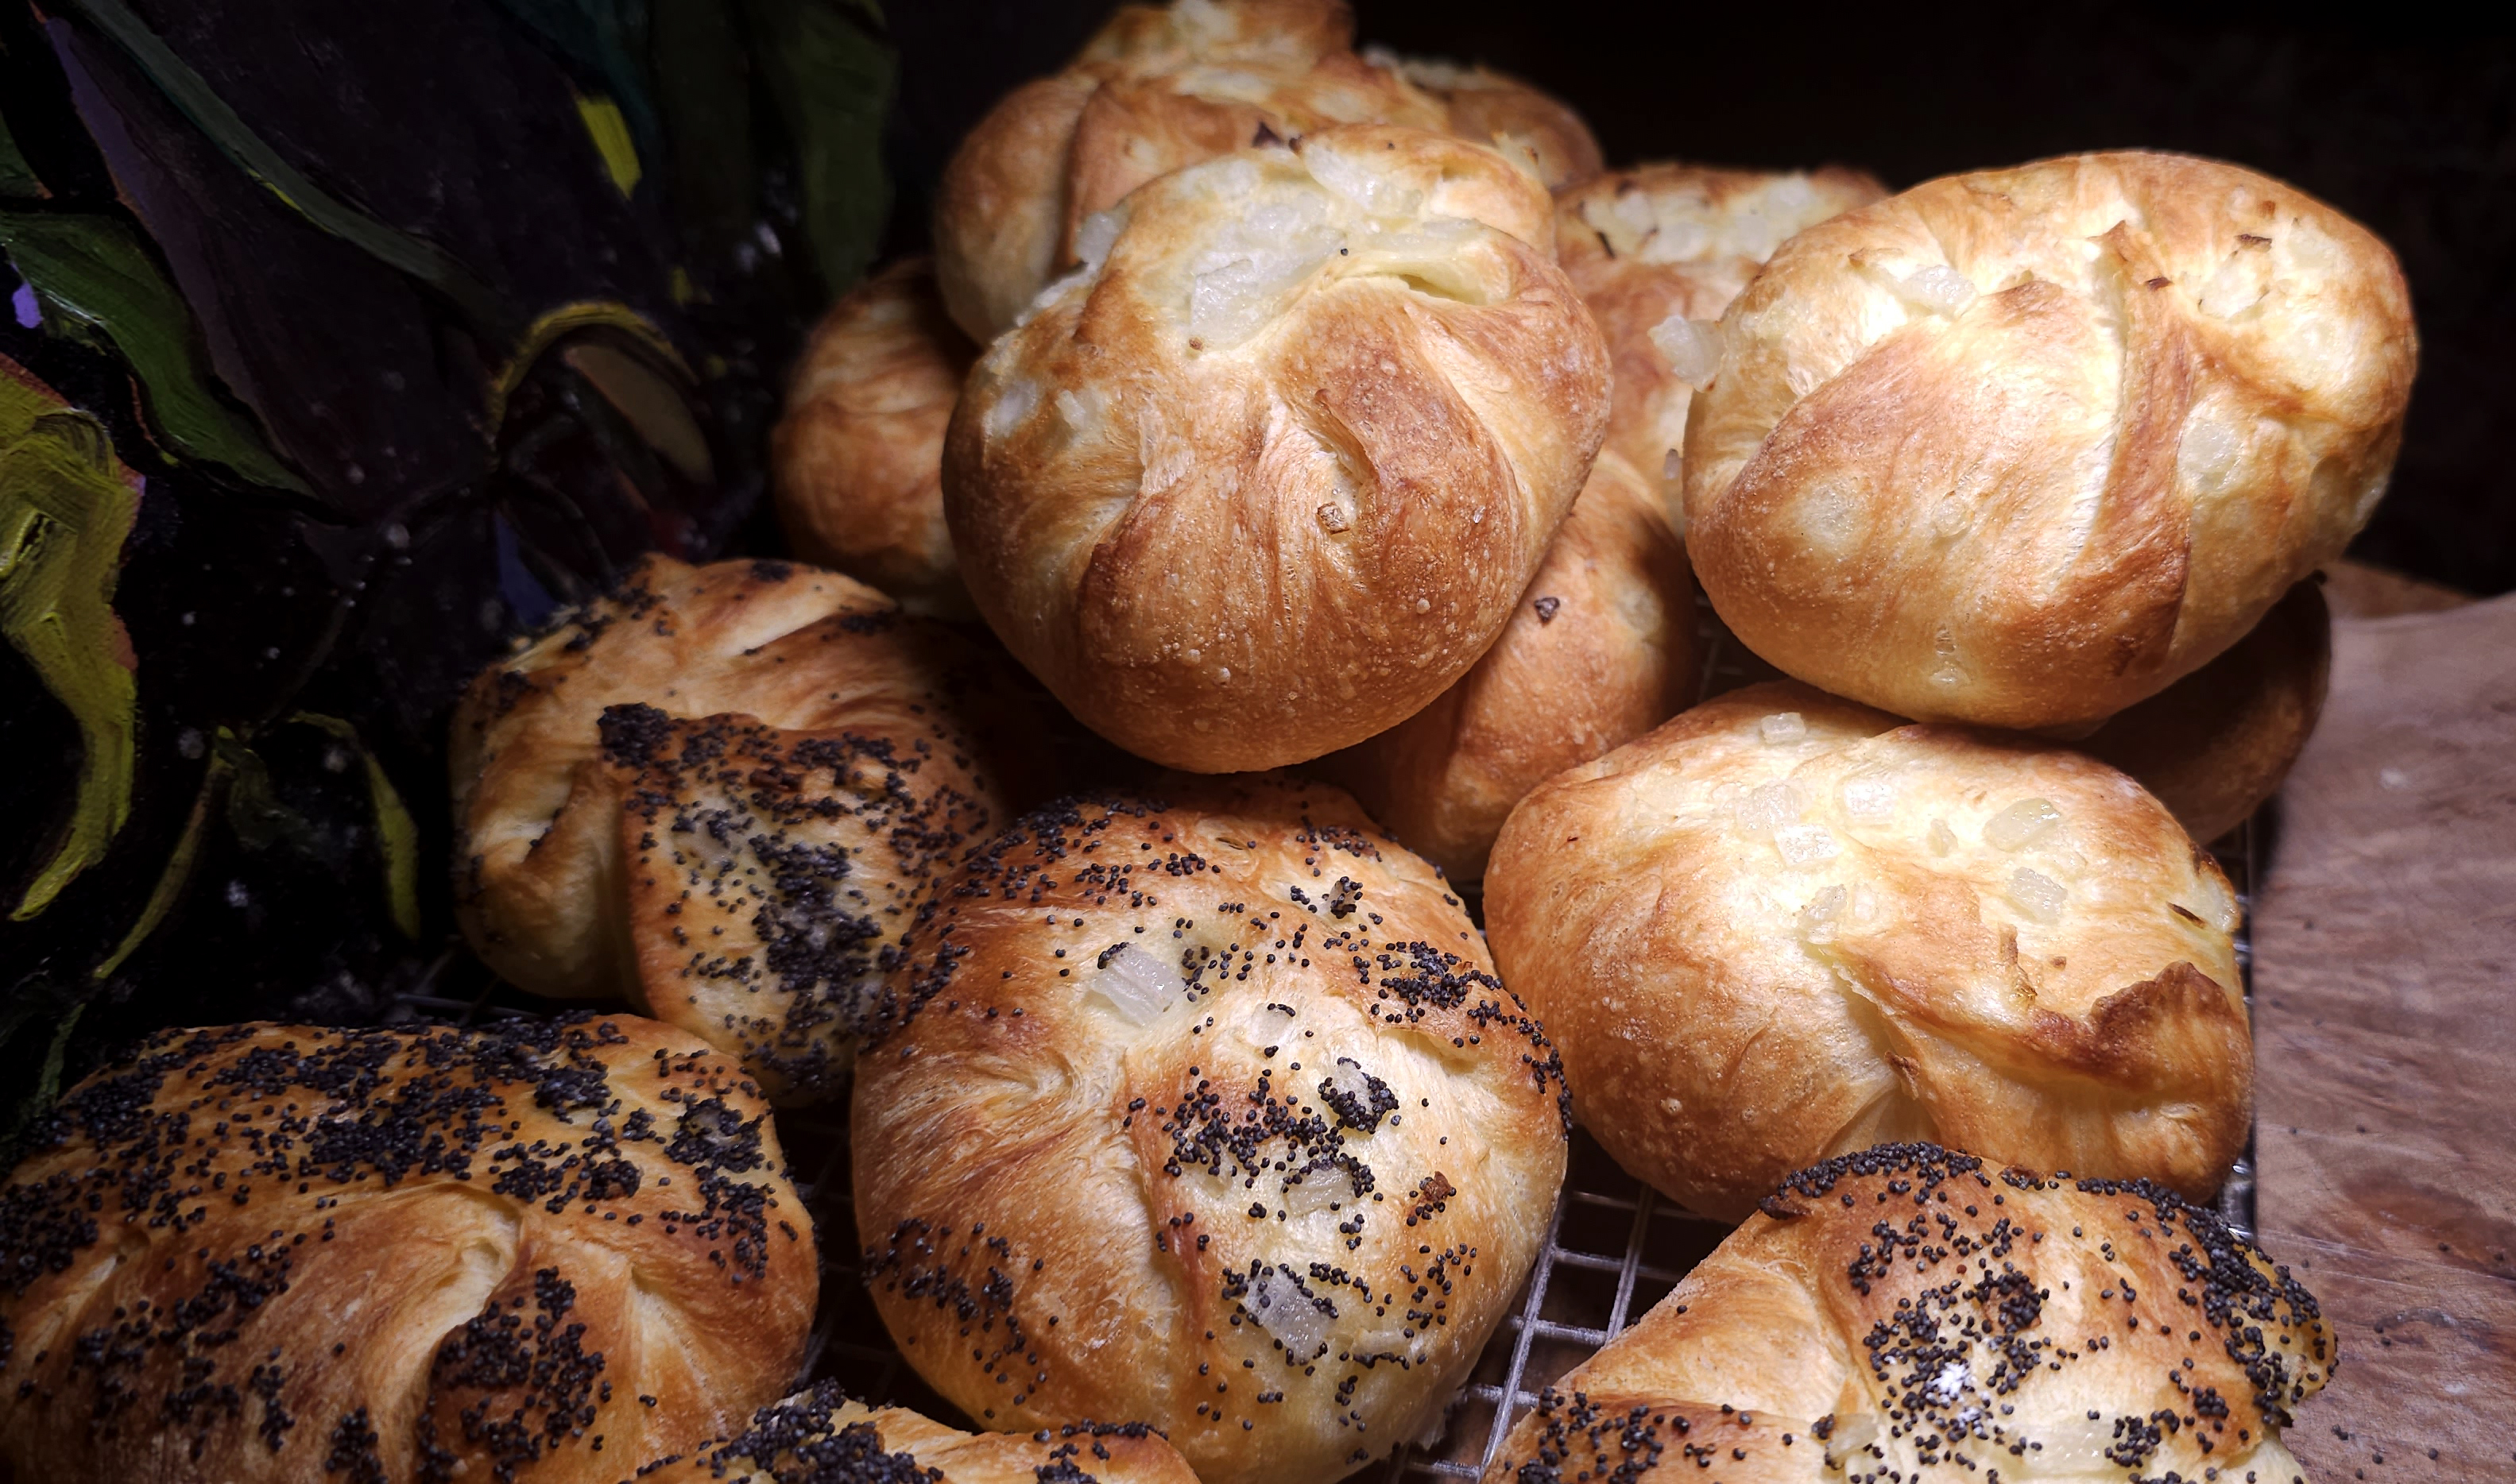
For seeded rolls, spread enough poppy or sesame seeds to cover a baking sheet. Line up the finished rolls and brush lightly with water. Arrange 9 rolls with the tops down on a seeded pan and lightly press down so that the seeds will adhere. Leave enough space between the rolls to permit them to double in size. Cover or set in a warm, draft-free space.
For plain rolls, lay waxed or parchment paper on a baking sheets, and grease or oil sparingly. There is no need to brush the rolls with water; just arrange them on the baking sheets as described for seeded rolls.
An alternate method of seeding the rolls is to prepare them as for plain rolls, then sprinkle with seeds before baking.
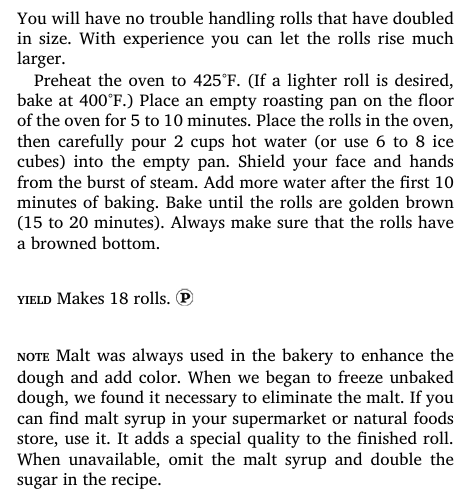
Proof the rolls upside down so that the design does not open. Allow to rise until doubled in size. In the bakery we let them rise to three or four times their original size, but this requires that they be handled very delicately or they will puncture like a balloon and collapse.
BAKING Lightly grease or oil a baking sheet, then carefully arrange each roll right side up on the pan, leaving room for them to rise in the oven. (When you become comfortable using a peel, bake the rolls on an oven stone or clay tiles for crusty rolls.) Do not puncture the rolls or they will deflate. The trick is to roll them over delicately onto your hands, palms up, and gently slide them off onto the pan.
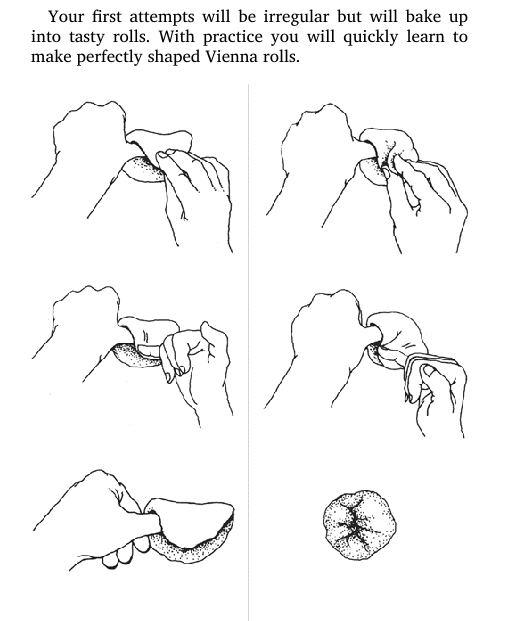
Shaping Vienna Rolls
In the beginning, when I first began working in the bakery, Vienna rolls were made by hand. It was not unusual to see six or more bread bakers sitting on high wooden stools or standing at long benches klopping out rolls all night long. The term klopping is descriptive of the knocking sound the bakers made with their karate chop blows on the work surface while molding the rolls into the distinctive Vienna roll rosettes. There was a camaraderie among the bakers that isn’t found today. They all had nicknames, some exquisitely descriptive. While working they would have lively conversations, often in several languages, which sometimes turned into heated arguments about baking, politics, the weather, the boss, or whatever. The work was hard, the heat often unbearable. The bakers were likely to be working in unventilated basements laden with flour dust. But they all speak about those old days with fondness.
Here’s how to make a Vienna roll. Don’t get discouraged at your first attempts. It takes time to get the hang of it, but it’s fun to do and you can always eat your mistakes. They’ll still taste good.
Prepare the Vienna Roll dough (this page). Shape into balls about 2 to 2½ ounces each. Dust lightly with flour (preferably rye flour), or toss them in the flour to coat. Cover and allow to stand about 5 minutes.
Flatten each ball into a 3-inch circle. Put your left thumb on the circle and stretch and fold a flap over your thumb. From this point on, keep your thumb in place inside the flap at all times. Seal the fold with a karate chop using the side of your hand.
Begin a second flap over from the right side and seal the edge with a chop as before. Turn your thumb and the dough slightly counterclockwise, pull a third flap over and chop to seal. Turn just enough to bring the fourth fold comfortably in line, sealing with the side-handed chop.
Stretch and fold a fifth time. Simultaneously remove your left thumb and use your right thumb to push the tip of the last flap into the hole left by the vacating thumb. You should have a 5-petaled rose-shaped design.
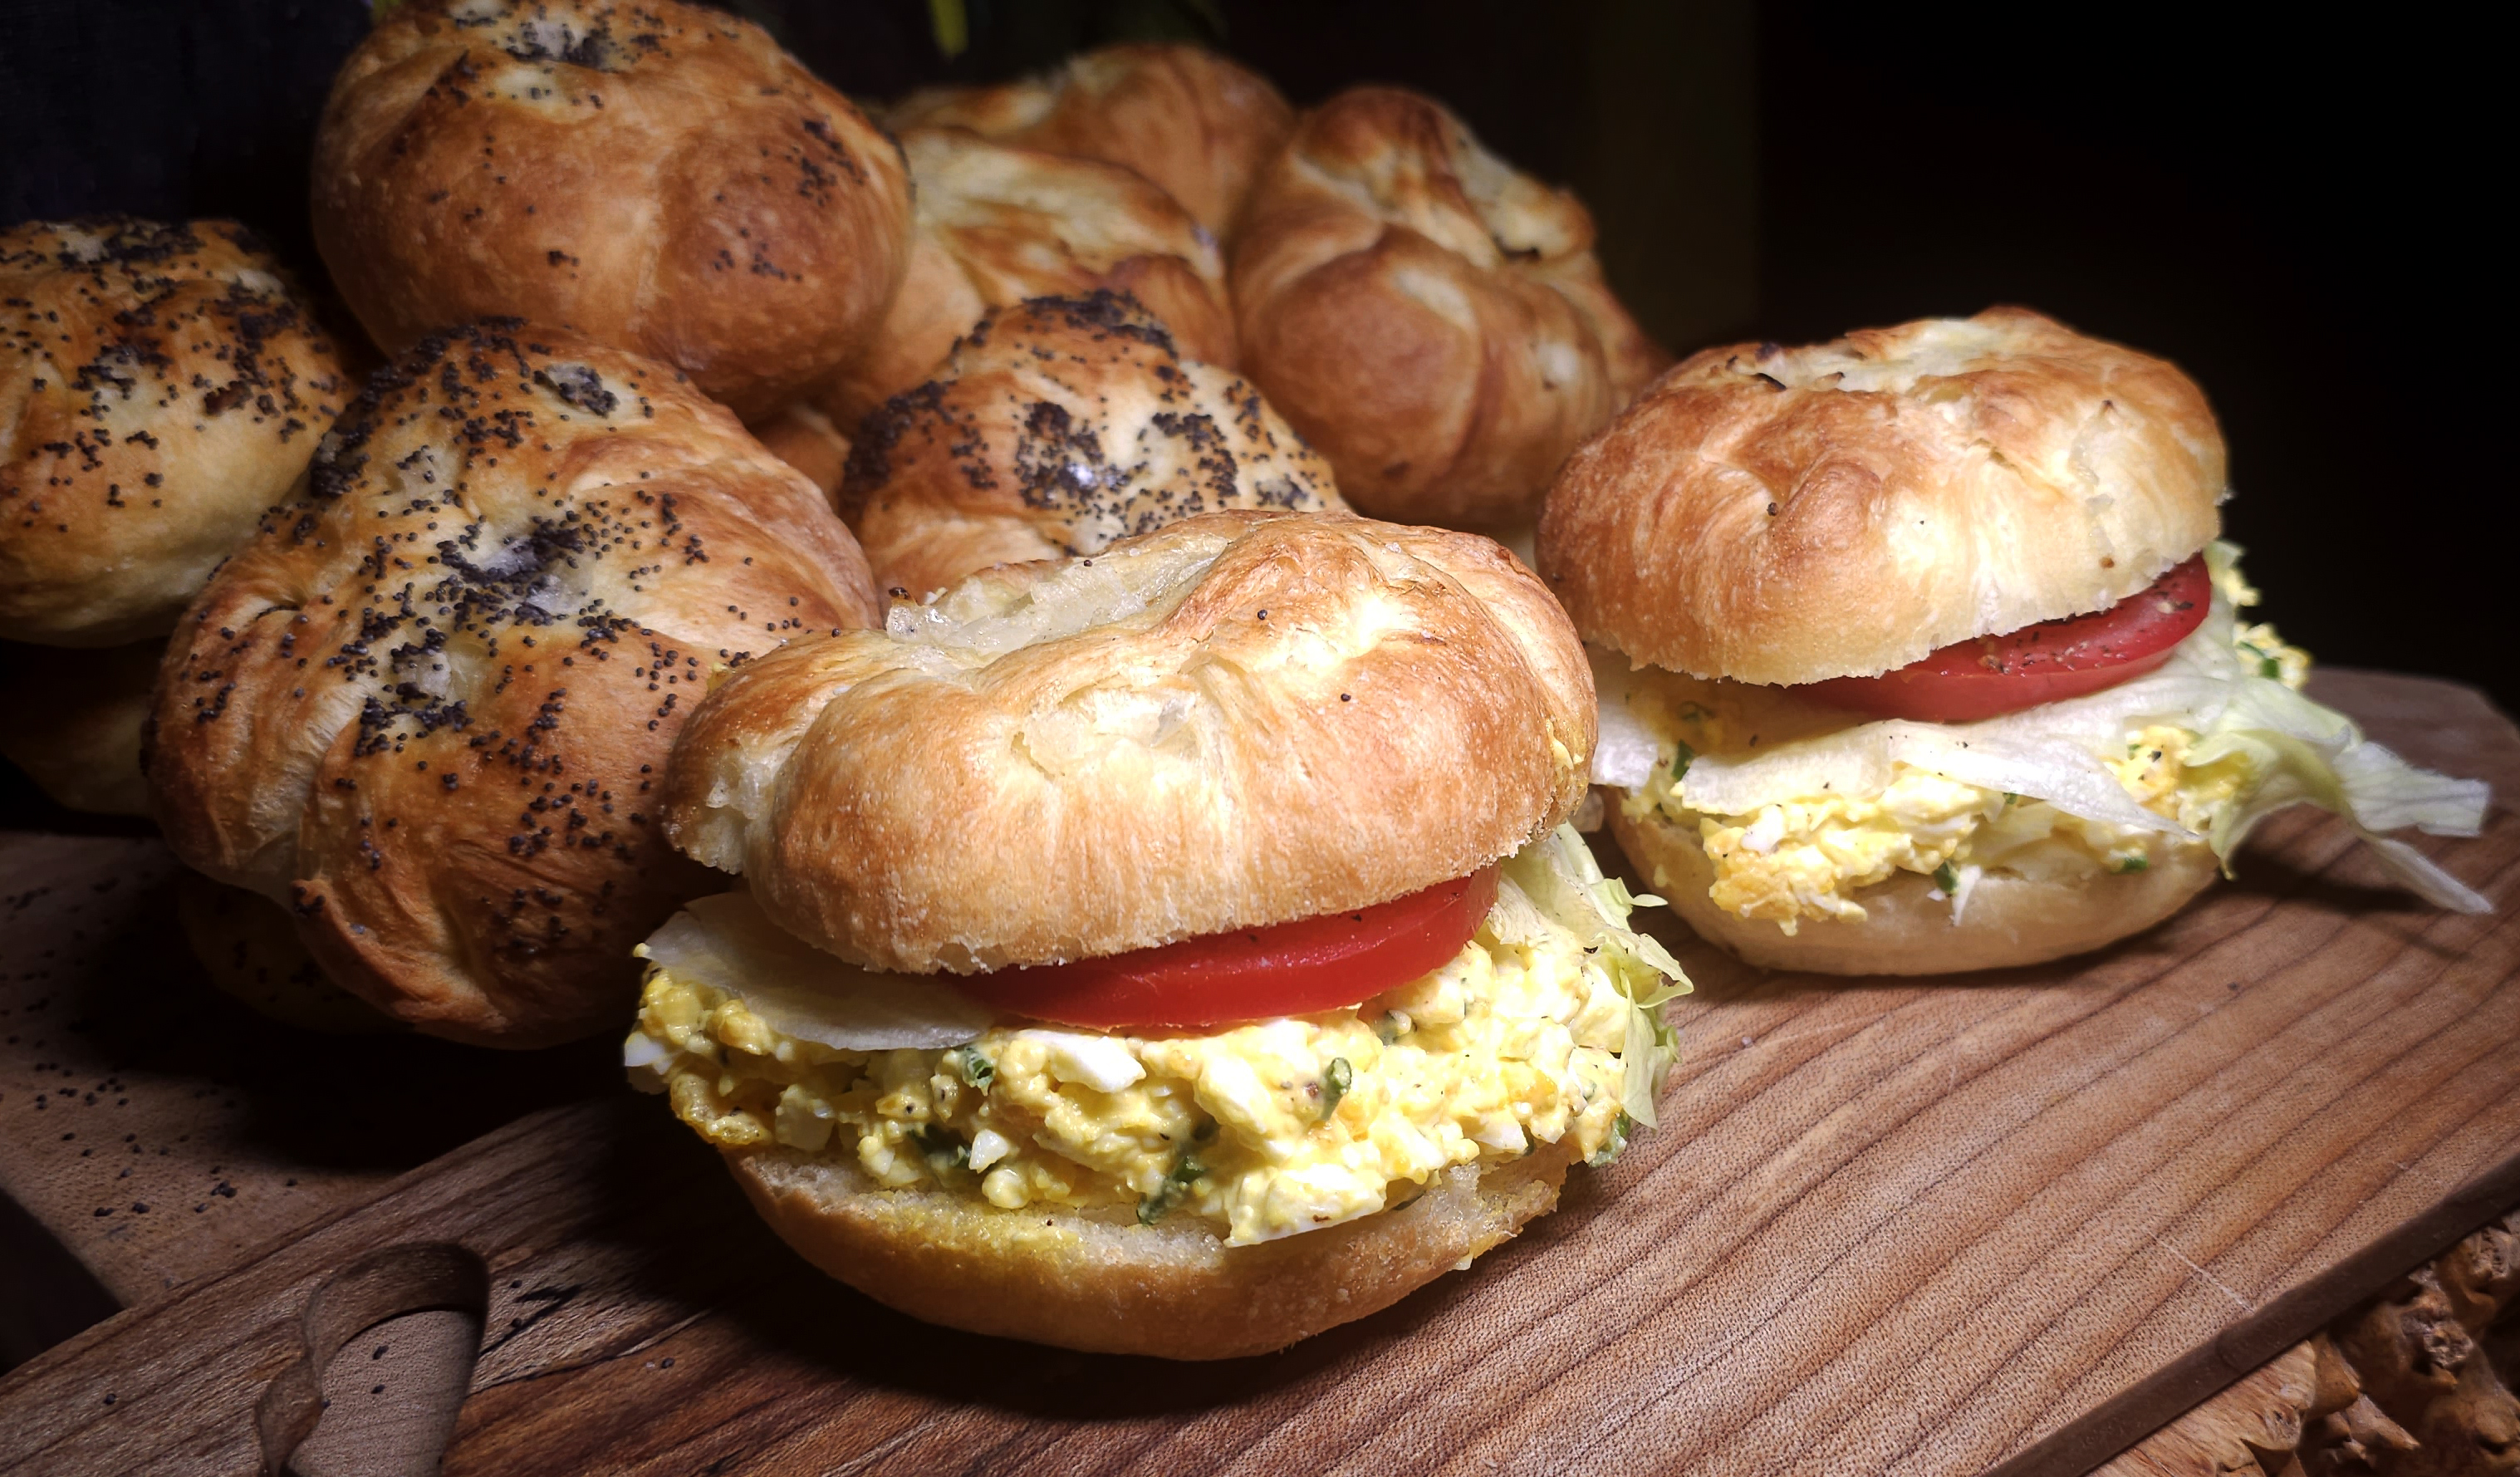
Makes great sandwiches
